
- About
- Discover EaseUS
- Reviews & Awards
- License Agreement
- Privacy Policy
- Student Discount
Full Guide to Take Shortcut with Snipping Tool
Jean Updated on
May 10, 2024|
min read
PAGE CONTENT:
What's the easiest way to take a screenshot on a PC? Undoubtedly, the Snipping Tool. The Snipping Tool is one of the most convenient ways to take free-form screenshots in Windows. This tool has been in Windows OS for over a decade, but many of us are still unaware of this. It is one of the best utilities in Windows OS to capture screenshots. The Snipping Tool has an intuitive interface that makes it easier to use. You only need to press a few shortcut keys, and that's it. Here in this tutorial, we will share the steps to take screenshots using the Snipping Tool in Windows. Later in the article, we will also share three additional methods to take screenshots on your Windows PC.
Snipping Tool Shortcut - Screen Capture for Windows
Capturing screenshots on Windows is way easier. Windows OS has an integrated screenshot capturing tool, Snipping Tool, that lets you capture screenshots simply by performing a few keyboard shortcuts.
Snipping Tool is one of the best Windows utility apps that enables you to take screenshots using your keyboard. It has been present in Windows since 2002 and is still one of the most useful tools present in all Windows OS. You can easily access the tool using the Windows Search Bar or pressing the Fn+PrtSc key combination. The Snipping Tool comes with all Windows versions, including Windows Vista.
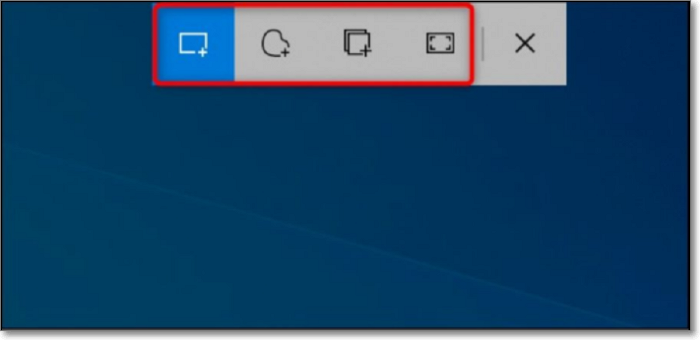
One of the highlights of the Snipping Tool is that it lets you edit screenshots and add effects to them. You can make various edits, such as highlighting any part using the highlighter, using the pen to write, etc. Most importantly, you can edit the screenshots per your editing needs. The Snipping Tool enables you to snap screenshots shaped differently, such as squares, circles, rectangles, etc. You can take four types of snips:
- 1. Rectangle Screenshot: Rectangle screenshot gives you the freedom to choose the particular area you want in the screenshot. You can either take screenshots in a square shape as well as a rectangle shape.
- 2. Freeform Screenshot: Freeform screenshot feature enables you to take screenshots more flexibly. You can capture any part of the screen as you want easily.
- 3. Windows Screenshot: Windows screenshot function lets you capture the entire window of a specific app or software you select.
- 4. Fullscreen Screenshot: Fullscreen screenshot feature includes the entire screen in the shortcut, including all the opened tabs and apps on the screen.
This is a short overview of the Window's built-in tool, Snipping Tool. Read the next section to learn to capture screenshots using the Snipping Tool in a few simple steps.
Use Snipping Tool to Take Screenshots on Windows PC
Capturing screenshots on Windows using the Snipping Tool is much easier. You can take screenshots using the Snipping Tool using a few key combinations. Here in this section, we have explained the steps of using the Snipping Tool to take screenshots on your Windows PC. Follow the mentioned steps to do so.
Take Screenshots on Windows Using the Keyboard and Mouse:
Step 1. Open the window or tab you want to capture.
Step 2. Press the Windows key + Shift + S to open the Snipping Tool.
Step 3. Make sure you select the right mode for your screenshot. By default, it will be set to Rectangular Mode. You can choose from the following options: Rectangular mode, Window mode, Full-screen mode, and Free-form mode.
Step 4. Follow the steps to capture different types of screenshots:
- Rectangular Mode: If you have selected Rectangular mode, select the area you want to capture in the screenshot using your mouse.
- Window Mode: Suppose, you have chosen Window mode, so pick a particular window you want to capture in the screenshot.
- Full-screen Mode: Once you select the Full-screen mode, the system will automatically take a picture of the screenshot of the entire screen, including the opened tabs and windows.
- Free-form Mode: Lastly, if you have selected Free-form mode, use your mouse to select a part of the screen you want to capture.
Step 5. Once you take the screenshot, the image will automatically be copied to the clipboard. You can also open the screenshot and more editing options by clicking on the notification popping from the bottom-right corner of the screen.
Alternate Way:
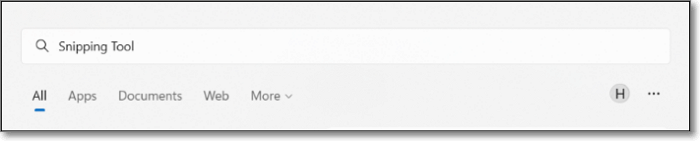
Step 1. Press the Windows key and search for the Snipping Tool in the Windows Search Bar.
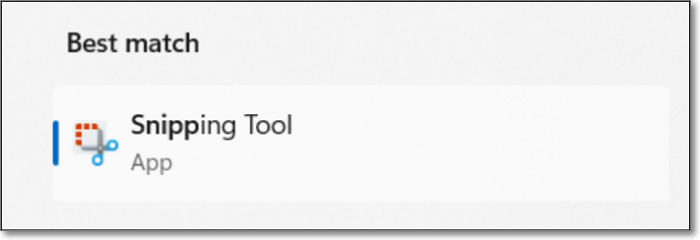
Step 2. Click on the "Snipping Tool" under the Best match section.
Step 3. Select the shape of the screenshot you want to take. You get four options to choose from Rectangular mode, Window mode, Full-screen mode, and Free-form mode.
Step 4. Take the screenshot and it will be again copied automatically to your clipboard.
Alternative Methods to Take Screenshots on Windows PC
Using the Snipping Tool is quite easy. Besides this, there are three different methods to capture snips on your Windows PC. Here in this section, we will guide you on how to take screenshots on Windows 10 PC using the other three methods. You can follow any of the below-mentioned methods to take screenshots on a Windows 10 PC that suits you the best.
- Method 1. Take Screenshots with Screen Capture Software
- Method 2. Take Screenshots with the Game Bar
- Method 3. Take Screenshots with Snip and Sketch
Method 1. Take Screenshots with Screen Capture Software
One of the first alternative methods to take screenshots on Windows is using the EaseUS ScreenShot. It is a really easy-to-operate software, and you can use it to quickly take screenshots on your PC.
Step 1. Download and install EaseUS Screenshot on your PC, then launch it.

Step 2. You will see two options on the toolbar. The left one is for "Rectangular screenshot", and the right one is for "Full screenshot".
To take a partial screenshot, you just click on the left button (or double click the "Ctrl" key), then drag your mouse to select the area on your screen; To take a full screenshot, you can click the right button (or double click "Alt" on keyboard).

Step 3. When the screen is captured, you can see an editing toolbar below the screenshot. It provides a set of tools to modify the screenshot by drawing, adding text, mosaic, etc.
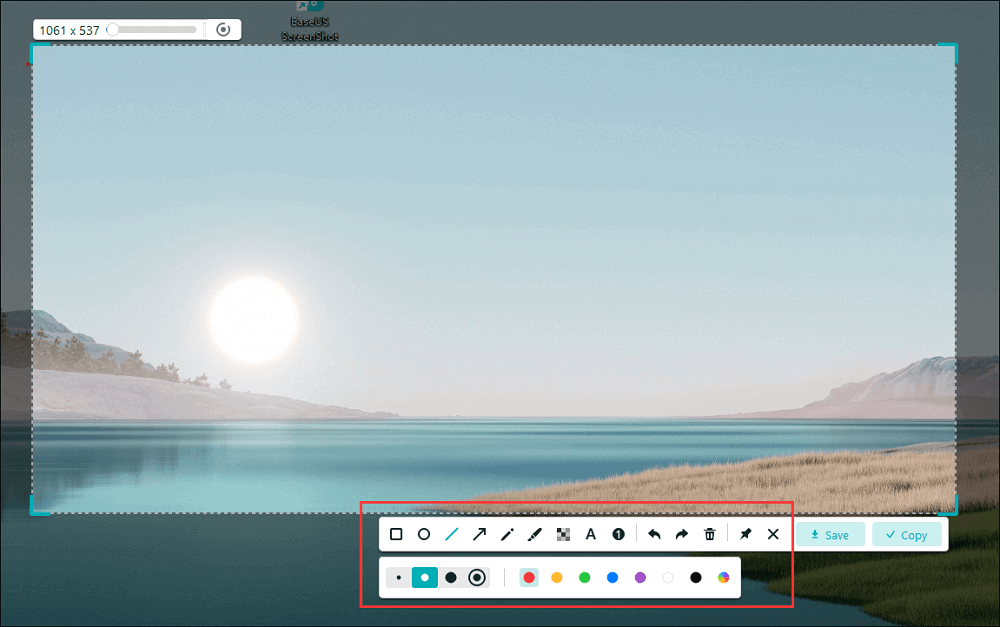
Step 4. Once done, click the "Save" button or press "Space" to save the screenshot. Or, you can click "Copy" or hit the "Enter" key to copy the screenshot to the clipboard.
Additionally, if you are interested in getting more details about the utilization of this great software, like how to screenshot only one monitor on Windows 10 or how to take a partial/full screenshot, you can read the articles below:
Method 2. Take Screenshots with the Game Bar
Windows comes with an Xbox Game Bar functionality that lets you record your gameplay, control speakers' volume, and mic input-output audio while gaming. It also enables you to take screenshots while playing and when not playing. You can use the Xbox Game Bar to capture your screen into a photo by following the below-mentioned steps.
Step 1. Press the Windows + G key to launch the Xbox Game Bar.
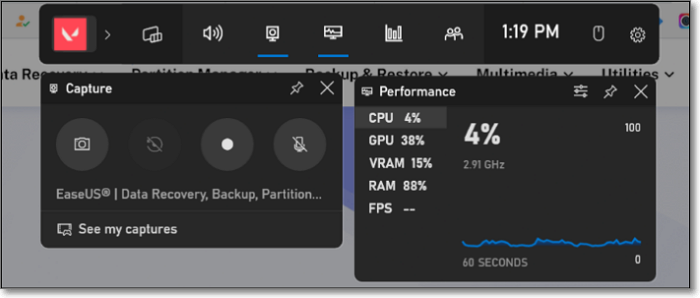
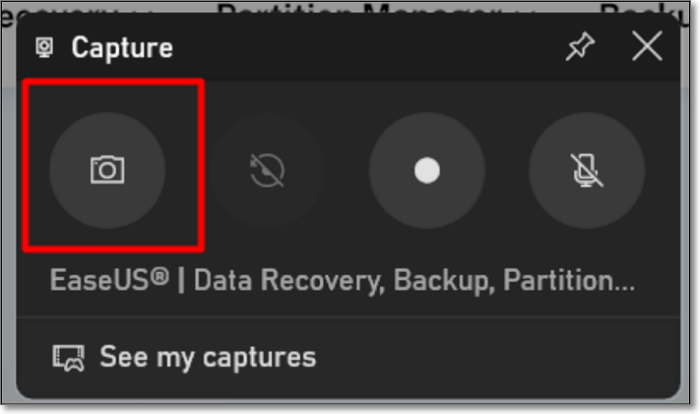
Step 2. Click on the "Camera icon" under the Capture section to take a screenshot.
Or
Step 2. You can also press Windows + Alt + PrtScn key combination to directly take a screenshot without launching the Xbox Game Bar.
Step 3. Once you follow the previous step, it will automatically snap the entire screen.
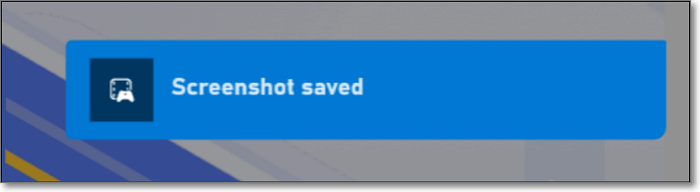
Step 4. You will now see a notification coming out from the right side notifying the screenshot has been captured. Click on the notification to view the screenshot and get more advanced options.
Method 3. Take Screenshots with Snip and Sketch
The last method to snap screenshots on Windows is using the Snip and Sketch tool. In Windows 12, this tool is named Snipping Tool. However, if you use an older version of Windows, you might find it only with the Snip and Sketch tool's name. Follow along to take screenshots with the Snipping tool, formerly the Snip and Sketch tool.
Step 1. Press Windows + Shift + S to launch the Snipping Tool.
Or
Step 1. Press Windows + S to open the Search Bar, type Snipping Tool, and open it.
Step 2. Select the desired area of the screen that you want to capture in the screenshot.
- Note:
- You can also change the type of screenshot you want to capture.
Step 3. Click on the notification appearing at the bottom-right corner of the screen regarding the screen capture.
Step 4. You will now see more editing options in the next window.
Step 5. Finally, you have captured the screenshot on your Windows 10 PC.
Conclusion
Undoubtedly, capturing screenshots on Windows has become much easier with Windows's Snipping Tool. There are some more ways to snap screenshots on a Windows PC. You can use your keyboard and capture screenshots using different key combinations, such as Alt + Print Screen, PrtScn key, and Alt + Print Screen. You can also use the Xbox Game Bar tool to take screenshots on your Windows PC. In addition, the EaseUS ScreenShot is a good choice that you shouldn't ignore. So, this is a guide on how to take screenshots on a Windows PC.
Snipping Tool Shortcut FAQs
1. Where do screen snips go in Windows 10?
By default, snips and screenshots are saved to the clipboard of the computer. This means to retrieve them, you only need to paste them into the application you want such as Microsoft Paint, Photoshop, Microsoft Word, and others.
2. Why is my snip shortcut not working?
So, if you've disabled clipboard history, the Snipping Tool won't work. You can fix this from the Settings app. Press Win + I to launch the Settings app and navigate to System > Clipboard. At the top of the window, you'll see the Clipboard history option and the option enable or disable to its right.
3. How do I use the snipping tool in Windows 11?
Follow these steps:
Step 1. Use the Windows logo key + Shift + S keyboard shortcut to activate the Windows 11 Snipping Tool.
Step 2. Pick a Rectangular, Freeform, Windows, or Fullscreen snip option.
Step 3. Edit the screenshot of how you want to use the features and tools within the app.
Was This Page Helpful?