-
![]()
Daisy
Daisy is the Senior editor of the writing team for EaseUS. She has been working in EaseUS for over ten years, starting from a technical writer to a team leader of the content group. As a professional author for over 10 years, she writes a lot to help people overcome their tech troubles.…Read full bio -
Jane is an experienced editor for EaseUS focused on tech blog writing. Familiar with all kinds of video editing and screen recording software on the market, she specializes in composing posts about recording and editing videos. All the topics she chooses …Read full bio
-
![]()
Alin
Alin is an experienced technical blog writing editor. She knows the information about screen recording software on the market, and is also familiar with data cloning and data backup software. She is expert in writing posts about these products, aiming at providing users with effective solutions.…Read full bio -
Jean is recognized as one of the most professional writers in EaseUS. She has kept improving her writing skills over the past 10 years and helped millions of her readers solve their tech problems on PC, Mac, and iOS devices.…Read full bio
-
![]()
Jerry
Jerry is a fan of science and technology, aiming to make readers' tech life easy and enjoyable. He loves exploring new technologies and writing technical how-to tips. All the topics he chooses aim to offer users more instructive information.…Read full bio -
![]()
Rel
Rel has always maintained a strong curiosity about the computer field and is committed to the research of the most efficient and practical computer problem solutions.…Read full bio -
![]()
Gemma
Gemma is member of EaseUS team and has been committed to creating valuable content in fields about file recovery, partition management, and data backup etc. for many years. She loves to help users solve various types of computer related issues.…Read full bio -
![]()
Shelly
"I hope my articles can help solve your technical problems. If you are interested in other articles, you can check the articles at the bottom of this page. Similarly, you can also check my Twitter to get additional help."…Read full bio
Page Table of Contents
Jane Zhou
Updated on Jun 09, 2026
0 Views |
0 min read
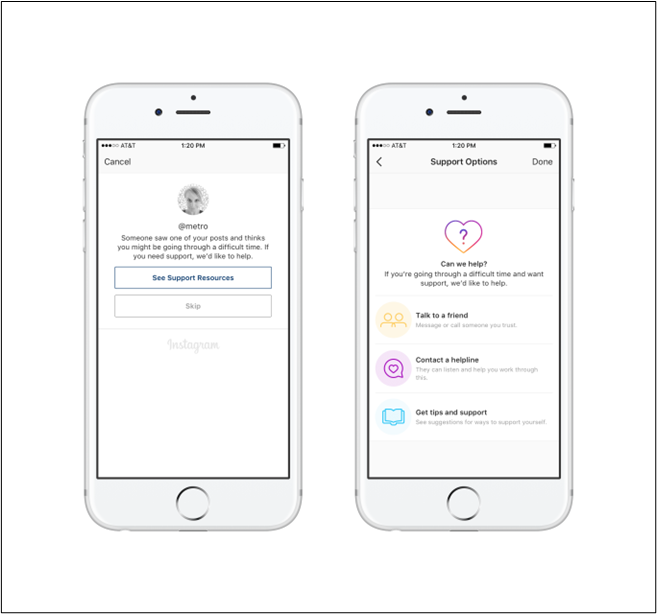
Instagram is a popular platform for connecting and engaging with others. It allows users to share moments and experiences. Encountering error messages can disrupt the immersive experience. These errors interrupt our ability to engage and hinder our connection with our audience. This article explores the nine best ways to fix the Instagram 'Sorry, Something Went Wrong' error. We'll mention detailed steps to ensure a smoother and uninterrupted experience. Moreover, here we'll suggest the best screen recorder to capture screens for documentation.
Method 1. Wait for A Couple of Hours
It is suggested to wait for some time. Instagram's technical team may be working to address the issue on their end. The team will resolve the issue without any action required on your part. If the problem exists for a long time, explore other solutions to get your Instagram running smoothly.
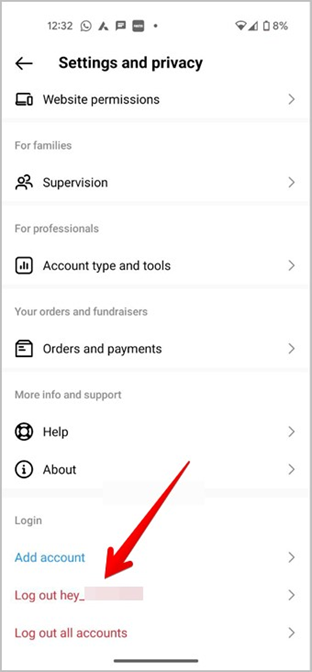
Method 2. Re-sign Into the Instagram App
Sometimes, a temporary glitch or issue with your account's authentication can cause this error message to appear. You can tackle the issue by re-signing into the Instagram app. Sign out and then sign back in to refresh your account connection. This process essentially resets your account's session on the app. It will help clear any temporary bugs or inconsistencies. Follow these steps to re-sign into the Instagram app:
Step 1. Open the Instagram app and go to your profile.
Step 2. Tap on the menu icon.
Step 3. Click on "Settings."
Step 4. Select "Log Out" at the bottom. You will be directed to the login screen.
Step 5. Enter your Instagram credentials and log in.
Have you solved the problem? If so, share this helpful guide with more people!
Method 3. Restart Your Device
Another method to solve the issue is to restart your device. Reboot your smartphone or tablet to solve the technical issues. It will clear the device's temporary memory and refresh its operating system. Follow these steps to restart your device:
Step 1. Press and hold down the power button.
Step 2. Select the option to restart your device. It will start the device reboot process.
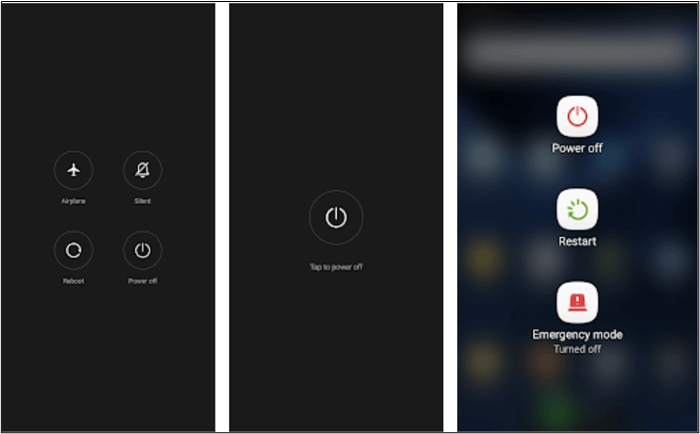
Step 3. Allow your device to power off completely and then restart.
✏️Read also: How to Turn Off Reels on Instagram
Method 4. Check the Instagram Server
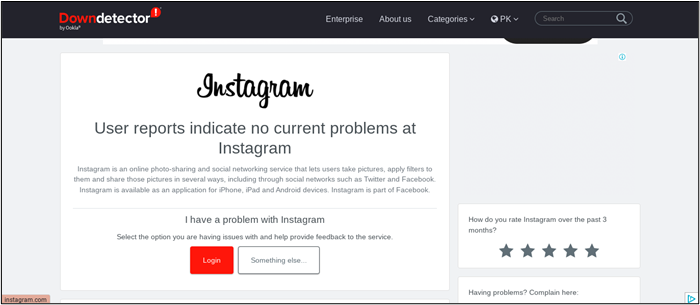
Sometimes, the issue may not be with your device or account. Instagram's servers may be experiencing technical difficulties or undergoing maintenance. Wait for Instagram to resolve the Instagram server issue. However, you can verify if the problem lies with Instagram's servers. Check their status through various online tools or websites. DownDetector provides real-time information about the status of Instagram's servers. Follow these steps to check the Instagram servers:
Step 1. Open the DownDetector website.
Step 2. Search for Instagram. It will show information of the Instagram servers.
Method 5. Clear Instagram Cache
Clear the cache of the Instagram app to solve the app performance issues. The cache stores temporary data and files that help the system to load faster. This cache can become corrupted or outdated over time. Clearing the cache refreshes the app's data and resolves the error message. Follow these steps to clear Instagram caches:
Step 1. Open your device settings.
Step 2. Select "Apps" or "Applications" from the Settings menu.
Step 3. Tap on "Instagram" from the list of installed apps.
Step 4. Select "Storage."
Step 5. Click on "Clear Cache" to remove the temporary files.
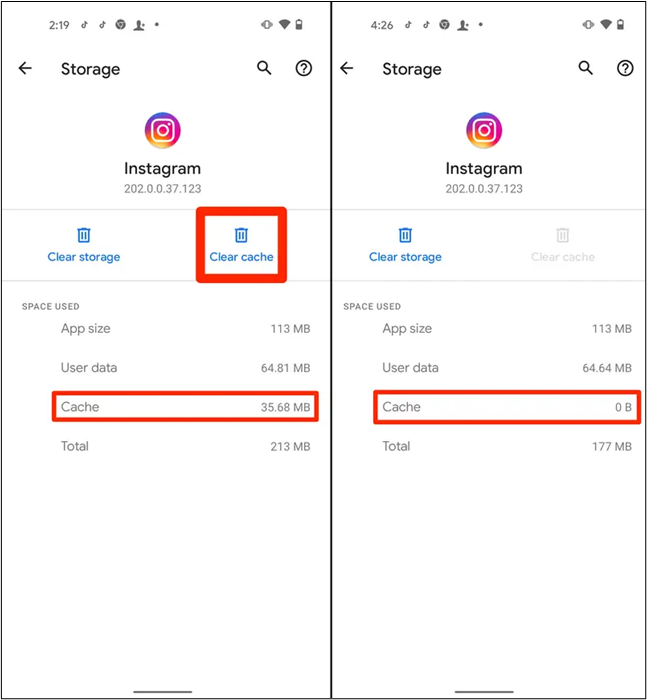
Step 6. Confirm the action if prompted.
Step 7. After clearing the cache, exit the Settings app and restart the Instagram app to see if the error message persists.
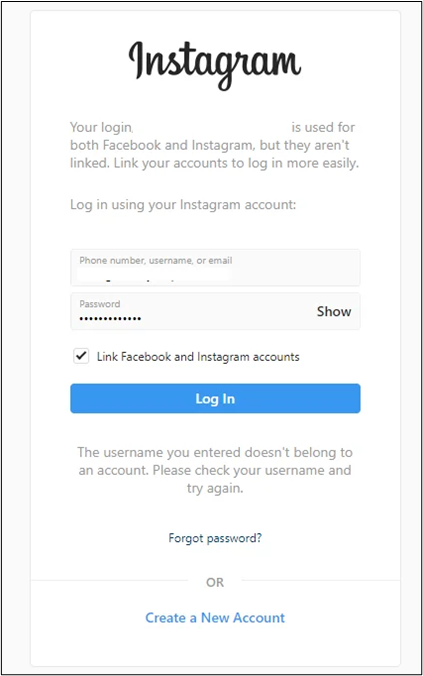
Method 6. Log in via Facebook
Logging in to Instagram via Facebook can sometimes resolve persistent errors. The Instagram and Facebook integration allows users to access Instagram accounts through Facebook account. Here are the steps to log in via Facebook:
Step 1. Open Instagram App.
Step 2. Select "Log In with Facebook" and tap on it.
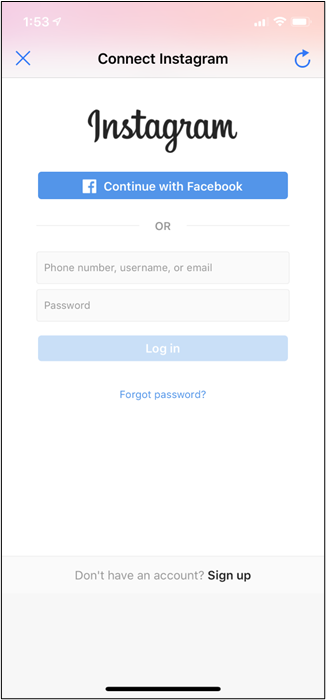
Step 3. Provide the required information and tap "Login."
Step 4. Review the permissions requested and tap "Continue" or "Authorize" to grant access.
Method 7. Use Instagram App on Other Devices
Log in to Instagram on another device. It will determine if the error is specific to your current device or account. By logging in to Instagram on a different device, you can find if the issue is device-related or account-related. Follow these steps to use the Instagram app on other devices:
Step 1. Open the Instagram app on another device.
Step 2. Log in to your account.
Step 3. Go to the app and perform various actions, such as viewing your feed or posting content.
Method 8. Disable Instagram Account Temporarily
Temporarily disabling your Instagram account can sometimes help resolve persistent issues. Disabling your account effectively puts it on hold. Here's how you can temporarily disable your Instagram account:
Step 1. Open Instagram.
Step 2. Log in to your account.
Step 3. Go to Profile settings.
Step 4. Access "Settings."
Step 5. Select "Account" to access account-related settings.
Step 6. Scroll down and select "Delete Account."
Step 7. Select the reason and enter a password.
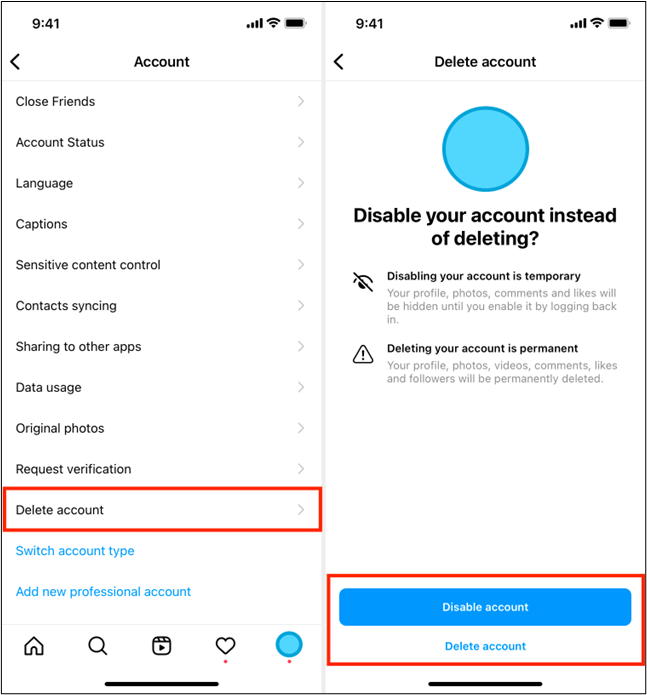
Step 8. Tap on "Disable Account."
Method 9. Contact Instagram Support
If nothing resolves the issue, contact Instagram support. Instagram provides various support channels through which users can seek assistance with account-related issues. Follow these steps to contact Instagram support for help:
Step 1. Open the Instagram app.
Step 2. Tap on your profile picture.
Step 3. Tap on the menu icon.
Step 4. Scroll down and select "Settings."
Step 5. In the Settings menu, tap "Help" or "Help Center."
Step 6. Look for an option to contact support directly.
Step 7. Describe your issue and send a message to Instagram support.
Bouns: How to Screen Record Instagram
While encountering difficulties with Instagram, you may need to capture what's happening on your screen. Screen recording helps you with troubleshooting and documentation.
EaseUS RecExperts is a reliable screen recording solution that captures high-quality video. With its robust functionality, this screen recorder offers various recording options. You can use it to create tutorials and document issues on platforms like Instagram. The software allows users to capture full-screen content or select specific areas to record.
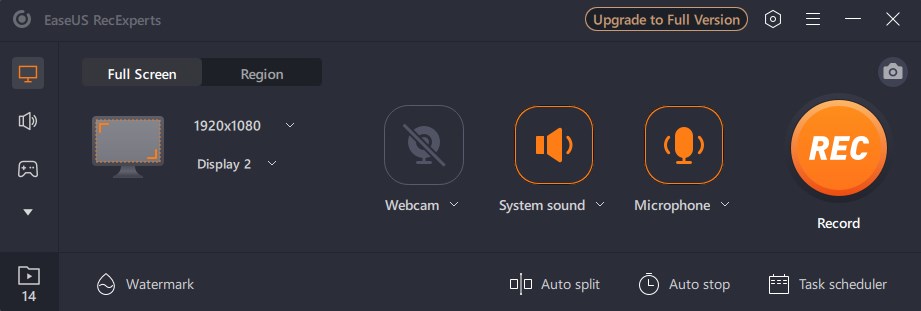
Besides, it offers the ability to record audio from multiple sources simultaneously. You can capture system sounds and microphone input or both. Users can also schedule recordings to start and stop automatically at specified times. It supports various video formats, and you can customize frame rates. Just get it and have a try now!
Conclusion
Instagram is a popular social platform for interacting with others. However, error messages on Instagram can disturb your seamless experience. For example, the error message "Sorry, Something Went Wrong" may cause frustration. This article provides nine effective methods to resolve this common issue. We've mentioned detailed steps to help users regain control of their Instagram accounts. If you find it helpful, spread it out now!
Instagram Sorry Something Went Wrong FAQs
You might have some confusion while looking for ways to resolve Instagram errors. Here are some insights to help you.
1. Why does Instagram keep saying, "Sorry, Something Went Wrong"?
The error on Instagram can occur due to various reasons:
- Technical issues with Instagram's servers.
- Network connectivity problems.
- Outdated app version.
- Issues with your device or account settings.
Temporary glitches or bugs within the Instagram app may also trigger this error message. How do you know if your Instagram account is banned?
A message like "Your account has been disabled" shows that your account is banned. Your profile and content will also be inaccessible to other users. Instagram mostly sends an email notification explaining the reason for the ban.
2. Can Instagram ban your device?
Instagram can restrict access to your account or content if it violates their community guidelines. But it typically does not ban devices. However, if multiple spammy accounts are associated with the same device, Instagram may take action against those accounts.
3. What does clearing Instagram caches do?
Clearing the cache of the Instagram app removes temporary data and files stored on your device. It helps you refresh the app's data and resolve app performance-related issues. Clearing the cache does not delete your account or any permanent data on the device. It only removes temporary files causing issues with the app.