-
![]()
Daisy
Daisy is the Senior editor of the writing team for EaseUS. She has been working in EaseUS for over ten years, starting from a technical writer to a team leader of the content group. As a professional author for over 10 years, she writes a lot to help people overcome their tech troubles.…Read full bio -
Jane is an experienced editor for EaseUS focused on tech blog writing. Familiar with all kinds of video editing and screen recording software on the market, she specializes in composing posts about recording and editing videos. All the topics she chooses …Read full bio
-
![]()
Melissa Lee
Melissa Lee is an experienced technical blog writing editor. She knows the information about screen recording software on the market, and is also familiar with data cloning and data backup software. She is expert in writing posts about these products, aiming at providing users with effective solutions.…Read full bio -
Jean is recognized as one of the most professional writers in EaseUS. She has kept improving her writing skills over the past 10 years and helped millions of her readers solve their tech problems on PC, Mac, and iOS devices.…Read full bio
-
![]()
Jerry
Jerry is a fan of science and technology, aiming to make readers' tech life easy and enjoyable. He loves exploring new technologies and writing technical how-to tips. All the topics he chooses aim to offer users more instructive information.…Read full bio -
Larissa has rich experience in writing technical articles. After joining EaseUS, she frantically learned about data recovery, disk partitioning, data backup, screen recorder, disk clone, and other related knowledge. Now she is able to master the relevant content proficiently and write effective step-by-step guides on various computer issues.…Read full bio
-
![]()
Rel
Rel has always maintained a strong curiosity about the computer field and is committed to the research of the most efficient and practical computer problem solutions.…Read full bio -
![]()
Gemma
Gemma is member of EaseUS team and has been committed to creating valuable content in fields about file recovery, partition management, and data backup etc. for many years. She loves to help users solve various types of computer related issues.…Read full bio
Page Table of Contents
0 Views |
0 min read
Recording the content when you are attending a Webex meeting gives you a chance to review important information later. However, these recordings could take up a lot of space on your device. In this case, you may want to edit the recording to save some space.
If so, you can follow this article to find a way to edit the recordings. We will show you the detailed steps on how to edit a Webex recording, like trimming the recorded video. Just pick a tool and follow the guide below.
PAGE CONTENT:
- 1. Edit a Webex Recording with EaseUS RecExperts
- 2. Edit a Webex Recording with Webex Recording Editor
- 3. Edit a Webex Recording with Flixier
- 4. Edit a Webex Recording with Windows 10 Video Editor
- FAQs about How to Edit a Webex Recording
Part 1. Edit a Webex Recording with EaseUS RecExperts
If you only need to trim a Webex recording, EaseUS RecExperts is enough for you. With this screen recording software, you can cut off unwanted parts of the recordings with easy operation. If the whole recording is unwanted, you can use the management function to delete it from your device.
Moreover, as a screen recorder, EaseUS RecExperts can record Webex meeting for you. It is even a better choice than Webex's official recorder because it can record the meeting silently. And it can guarantee clear audio as it can screen record without background noise. Now, let's download it from the button below and follow the steps to trim a Webex recording.
Step 1. Launch EaseUS RecExperts and click "Recordings" to open the built-in video editor.
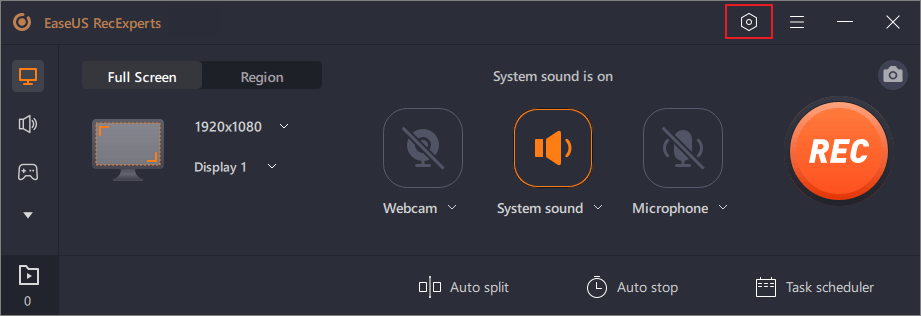
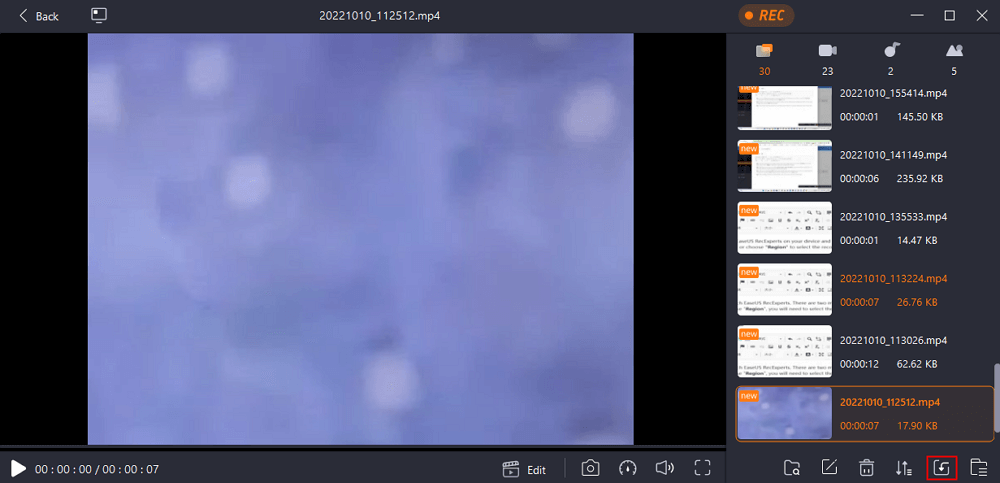
Step 2. Click "Import" on the bottom right corner, then add your target video file from your local folder.
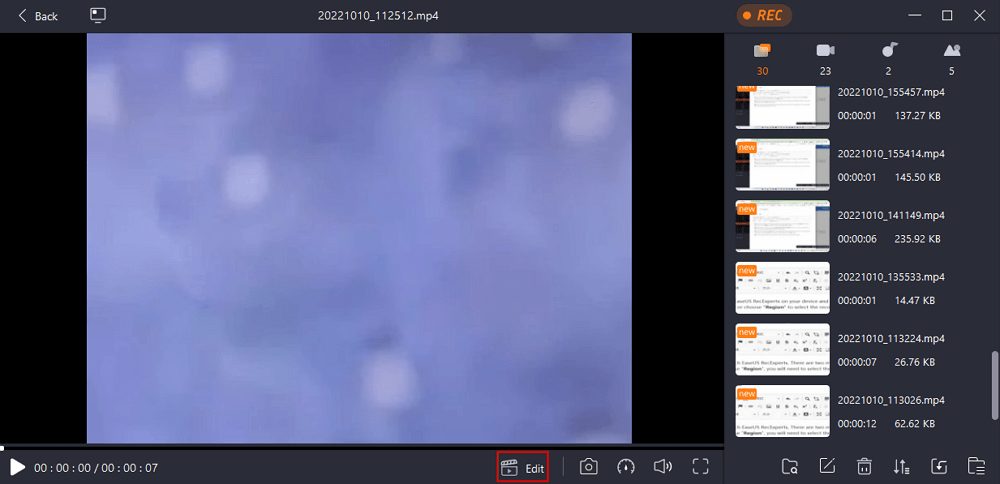
Step 3. Click "Edit" > "Trim" to trim the video. Here you can even trim the video frame by frame. Finally, save the edited video.
Part 2. Edit a Webex Recording with Webex Recording Editor
Webex Recording Editor is the software that provides users the ability to edit advanced recording files and .wrf files. Removing unwanted portions from the beginning and end of a recording is quite an easy task for it.
You can also add text, stickers, audio, image, add subtitles to MP4 or to other recordings. This technology also allows users to convert and export ARF and WRF files into other file formats such as WMV. Now, let's check the steps to edit a Webex recording with it.
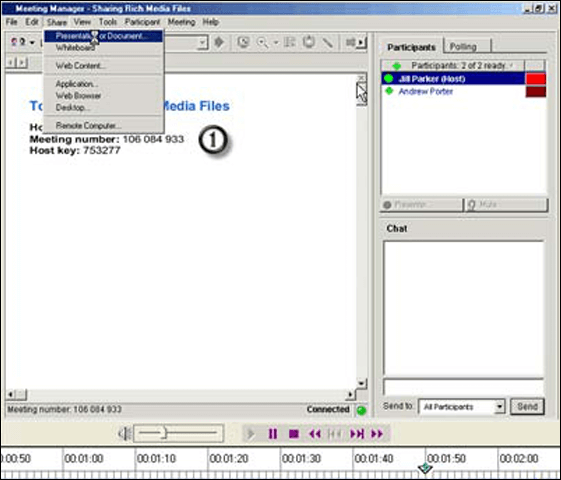
Step 1. Go to the Webex service website and click "Support". Under "Downloads", click the "Recording and Playback" page link. Then, click "Download Webex Recording Editor" to download the tool first.
Step 2. Sign in to your Webex site and go to "Recordings". Select the recording that you want to edit.
Step 3. Click "Play" and select "Edit playback range" in the lower right of the screen.
Step 4. Select "Preview playback range" to start playing the recording. When you determine where you want the recording to start, select "Pause" and drag the playback start control there.
Step 5. Select "Save playback range", and the changes will be saved.
Part 3. Edit a Webex Recording with Flixier
Flixier is an easy tool that can be used to edit a Webex recording. However, to import and edit your Webex recordings in Flixier, you need to connect your Webex account with Flixier first.
By connecting your Webex account with Flixier, you can import your recordings and edit them for further publishing on websites, blogs, social media, etc. You may follow the steps below to connect your account and edit the recordings if you can bear this inconvenience.

Step 1. Click "Import' in the Flixier project editor, select "Webex" and enter your account credentials.
Step 2. Allow required permissions to Flixier and click "Done". Your account is connected.
Step 3. Click "Import" again in the Flixier project editor and select "Webex". A list of your recordings will show up.
Step 4. Locate the recording you want to edit and press "Import". Your recordings will be imported, and you can edit them now.
Part 4. Edit a Webex Recording with Windows 10 Video Editor
Windows 10 Video Editor is free software available on all Windows 10 computers. It is usually preinstalled on your computer, so you don't have to download anything, which makes this method easier than others. The steps below show the process for editing your Webex recordings.
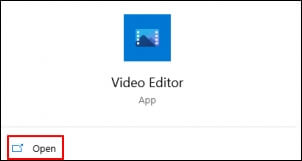
Step 1. Locate the "Video Editor" app on your computer and click "Open" to launch the application.
Step 2. Choose "New Video Project" and name your project. Then, click "OK" to save it.
Step 3. Click on "+" and select "From this PC". Select the thumbnail that appears and click "Place in Storyboard".
Step 4. Select the video thumbnail and choose the "Trim" tool. The Trim window will open.
Step 5. Slide the "Start" and "End" trim markers to the start and end points of the section of the recording you want to keep. Then, click "Done" to save the changes.
FAQs about How to Edit a Webex Recording
Here are three questions people are asking. Let's see if you are interested in them too.
1. How do I trim the middle of a Webex recording?
After opening a recording in the Webex Recording Editor, select the segment you want to delete. Then, go to "Edit" and click "Cut".
2. How do I delete a Webex recording?
Sign in to Webex Site Administration, select "Recordings" and then "Recording Management". Select "Trash" and find the recordings that you want to delete permanently. And click "Delete".
3. How long are Webex recordings available?
New Webex accounts include a full year of unlimited recording storage. All your recordings will be deleted after one year of storage.
Conclusion
This article showed you how to edit a Webex recording with some useful tools. If you have chosen one tool, you can follow the steps to edit your recordings. If you haven't chosen a tool, you can download and use EaseUS RecExperts as it is really capable and easy to use. Even novices can handle it without a hassle. Just download it right now!
EaseUS RecExperts

One-click to capture anything on screen!
No Time Limit, No watermark
Start Recording
