-
![]()
Daisy
Daisy is the Senior editor of the writing team for EaseUS. She has been working in EaseUS for over ten years, starting from a technical writer to a team leader of the content group. As a professional author for over 10 years, she writes a lot to help people overcome their tech troubles.…Read full bio -
Jane is an experienced editor for EaseUS focused on tech blog writing. Familiar with all kinds of video editing and screen recording software on the market, she specializes in composing posts about recording and editing videos. All the topics she chooses …Read full bio
-
![]()
Melissa Lee
Melissa Lee is an experienced technical blog writing editor. She knows the information about screen recording software on the market, and is also familiar with data cloning and data backup software. She is expert in writing posts about these products, aiming at providing users with effective solutions.…Read full bio -
Jean is recognized as one of the most professional writers in EaseUS. She has kept improving her writing skills over the past 10 years and helped millions of her readers solve their tech problems on PC, Mac, and iOS devices.…Read full bio
-
![]()
Jerry
Jerry is a fan of science and technology, aiming to make readers' tech life easy and enjoyable. He loves exploring new technologies and writing technical how-to tips. All the topics he chooses aim to offer users more instructive information.…Read full bio -
![]()
Rel
Rel has always maintained a strong curiosity about the computer field and is committed to the research of the most efficient and practical computer problem solutions.…Read full bio -
![]()
Gemma
Gemma is member of EaseUS team and has been committed to creating valuable content in fields about file recovery, partition management, and data backup etc. for many years. She loves to help users solve various types of computer related issues.…Read full bio -
![]()
Shelly
"I hope my articles can help solve your technical problems. If you are interested in other articles, you can check the articles at the bottom of this page. Similarly, you can also check my Twitter to get additional help."…Read full bio
Page Table of Contents
0 Views |
0 min read
To record iPhone screen on Mac, the built-in screen recorder should never be a letdown. People are fond of it as its simple interface, easy to control, and could be applied in many scenarios. Also, there are some other tools that can meet the requirement to screen record with sound iPhone on your Mac.
Look at this Simple Guide to Capture iOS Screen on Mac:
Step 1. Ensure the iOS device and Mac are under the same Wi-Fi connection.
Step 2. On your iPhone, find the Control Centre from the top right...
>> Read More
How to Record iPhone Screen on Mac with QuickTime Player
As the default media player for macOS, QuickTime Player is born with powerful capabilities. With its screen recording features, you can create video tutorials, product instructions, and so on. Most importantly, it allows you to capture your iPhone screen easily. Meanwhile, this tool can deal with audio like the microphone sound.
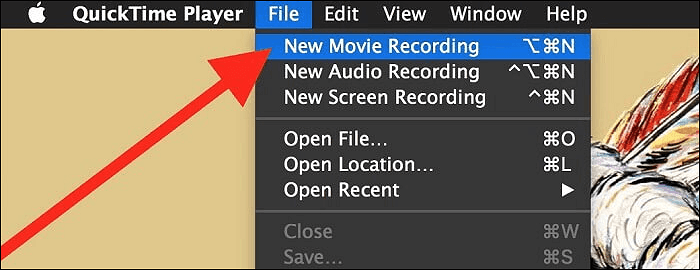
How to record your iPhone screen on Mac with QuickTime Player:
Step 1. Firstly, you should connect your iPhone and Mac with the help of a lightning cable. Then, launch QuickTime Player. After that, tap "File" > "New Movie Recording".
Step 2. When a window appears, tap the icon beside the record button and select your iPhone as the source.
Step 3. Tap the Record button and perform the tasks on iPhone. Once done, click the stop button and save it.
Notice: It cannot help you record the system sound from Mac.
Other Recorders for Capturing iPhone Screen on Mac
There are other helpful tools that allow this feature. Below are the top 3 best screen recorder for Mac to help the iOS display be recorded on Mac. So, have a look and pick out the suitable one.
Tool 1. Capto
Capto is an outstanding solution for screen capturing on Mac. It comes with an iOS screen recording feature that helps record the screen of your iPhone with a strict connection.
This recorder is also helpful in the editing of footage when you aim at creating explicit tutorials. What's more, Capto comes with a smart file manager with a quick sharing feature to make things much easier for users.
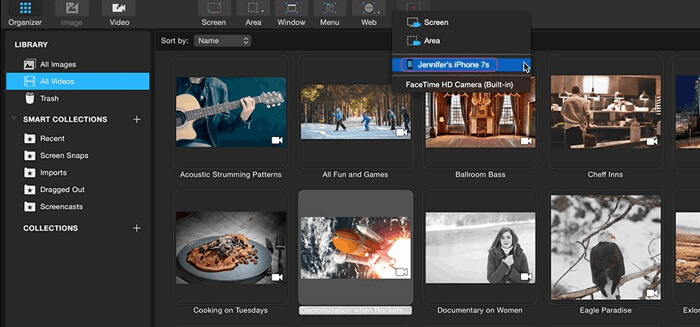
Pros:
- Powerful screen recorder for iOS devices
- Allow some video editing features
- Share works to social media platforms like Facebook, YouTube, etc.
Cons:
- With some occasional performance issues
- Limited audio editing capabilities
Tool 2. ScreenFlow
This software is definitely a good choice, which allows you to record iPhone screen on Mac. It also lets you capture any selected area of the display. Moreover, ScreenFlow is capable of capturing the signals from a microphone, system audio, and multi-channel audio devices effectively.
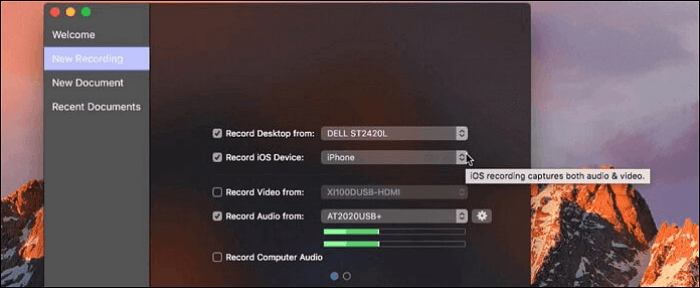
Pros:
- Simple function interface for a starter
- Share files without any hassle
- Create advanced level tutorials
Cons:
- Expensive product in the market
- Lack of advanced settings for output work
Tool 3. Reflector
Last but not the least, Reflector is also a good choice. It offers a wireless solution to capture the screen of your iPhone or iPad on Mac. You can create demo videos and tutorials with ease and also include your own voice in recordings. Below is a simple guide.
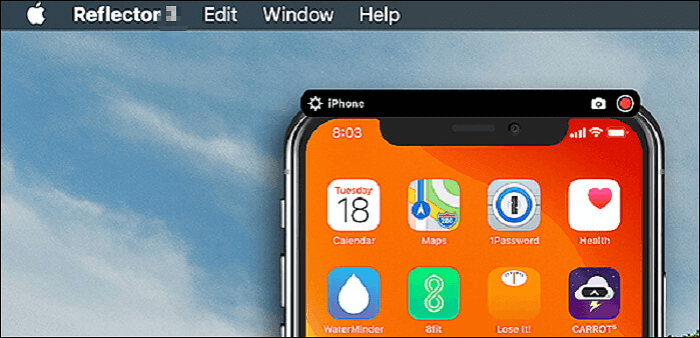
Pros:
- Require no cable to the connection
- Capture a video in high quality
- Friendly to users who lack technical knowledge
Cons:
- Lack video editing feature
- Need to pay for it
[Recommendation] Best Screen Recorder for Mac
Besides recording the video and audio files on iPhones, sometimes you may also need to capture the screen of your Mac. EaseUS RecExperts for Mac is helpful to view and capture the Mac screen.
This Mac screen recorder is lightweight so that it won't slow down the speed of your device. With the help of this software, you can capture the full screen or only part of the screen with ease. In addition to that, you record the audio from many sources, including the system audio and the microphone audio.
Key features:
- Record screen with audio on Mac
- Capture the gameplay on Mac with system and external sound
- Record audio and video automatically using the Task Scheduler
- Easy for capturing the online meetings on Mac
To start capturing the screen on Mac, click this button to download it!
Step 1. Select the Recording Area
Launch this program on your Mac, then click "Full screen" or "Region" to select the recording area on your desktop.

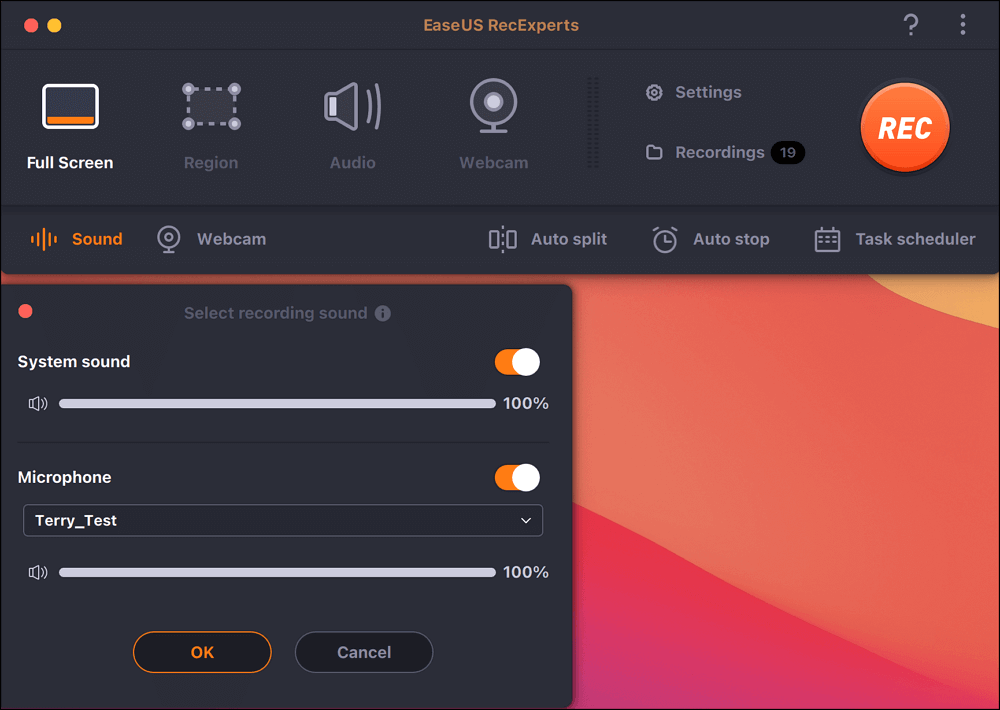
Step 2. Choose Audio Source/Webcam
Click the "Sound" icon at the bottom left of the panel to select the sound you want to capture with screen. If needed, you can add webcam overlay to your recording by hitting the "Webcam" icon next to "Sound".
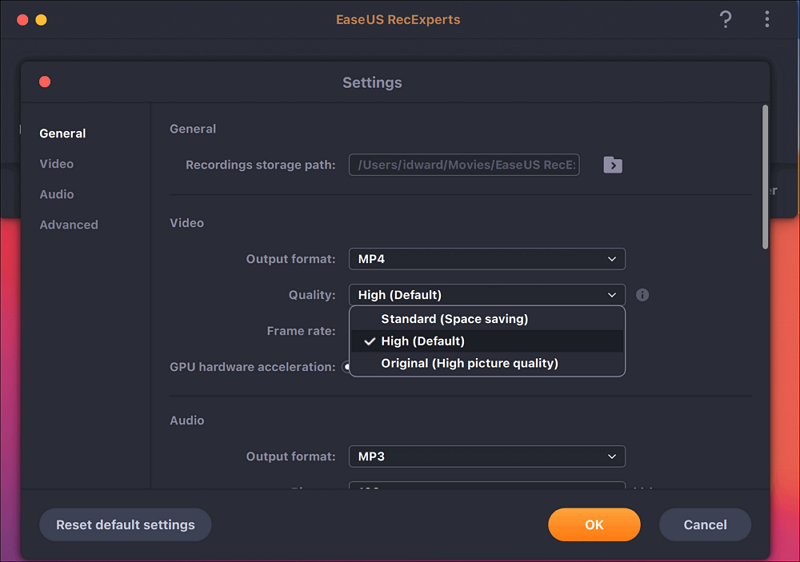
Step 3. Adjust Output Settings
According to your needs, click the "Settings" button on the panel to choose the output format, quality, location, shortcuts, etc.
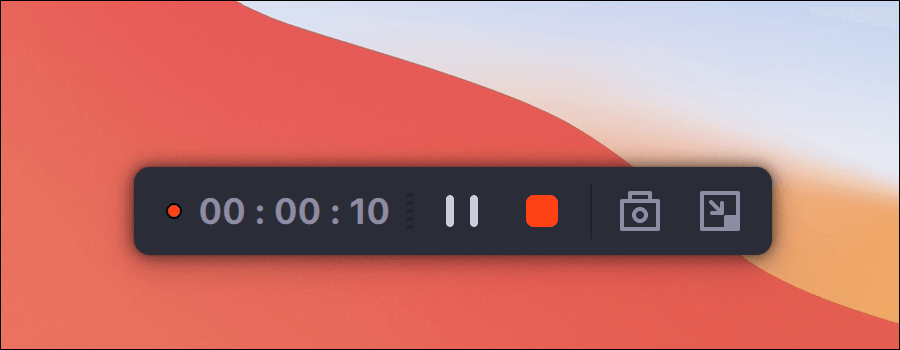
Step 4. Start Recording
Once all settings are done, move back to the main interface and click "REC" to start your recording. Then there will be a toolbar that lets you pause, resume, stop the recording flexibly.
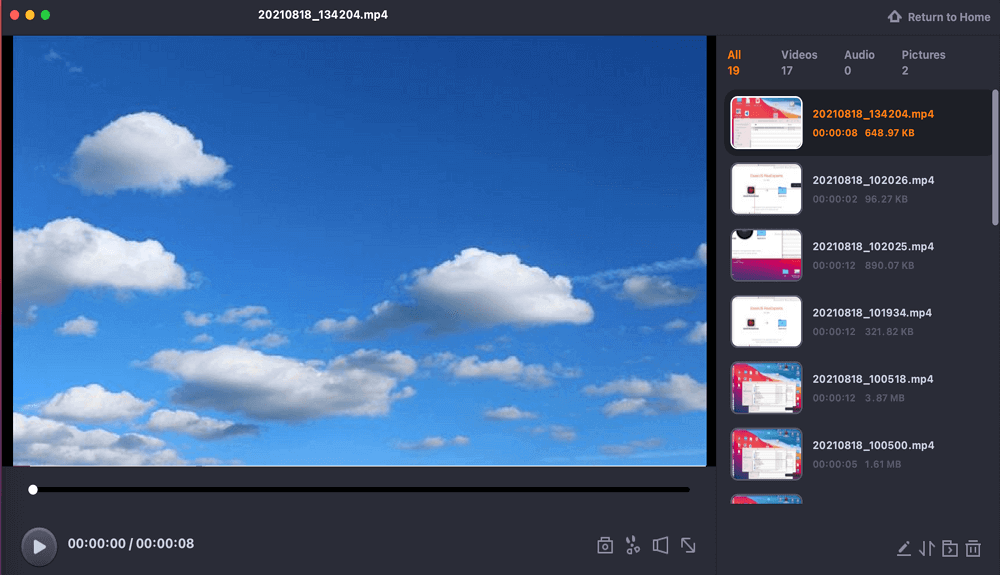
Step 5. View Recordings
When you finish the recording, you can view all the recorded files with the help of the inbuilt player.
Conclusion
These methods all concentrate on helping users record iPhone screens on Mac and even view the display on Mac. Believe that you can find an ideal choice in this post. Besides those recorders for capturing the iPhone screen, this post also recommends a Mac recorder for you, and you can capture anything on the Mac screen with ease.
FAQs About How to Screen Record iPhone on Mac
Here are frequently asked questions generated by the public, and you can have a look at them.
1. Can I Mirror my iPhone to my Mac?
Yes, you can. On iPhone, swipe down from the top right of the screen to open the Control Center. Click AirPlay and select the targeted Mac to be connected with. Now, enable the mirroring function.
2. How do I Record My Phone Screen on My Mac QuickTime?
To record your iPhone screen with QuickTime Player, you need a Mac running with Mac OS X or above and iPhone running with iOS 8 or above. When you are well-prepared, follow the below steps:
1. Connect your iPhone to Mac with a lightning cable.
2. Open QuickTime Player > File > New Movie Recording from the menu.
3. Select the target iPhone to be recorded. Then, click the Record button to get started.
3. Can you Record Screen on Mac?
Sure, you can. It's easy if using an efficient recorder like EaseUS RecExperts for Mac.
EaseUS RecExperts

One-click to capture anything on screen!
No Time Limit, No watermark
Start Recording
