-
![]()
Daisy
Daisy is the Senior editor of the writing team for EaseUS. She has been working in EaseUS for over ten years, starting from a technical writer to a team leader of the content group. As a professional author for over 10 years, she writes a lot to help people overcome their tech troubles.…Read full bio -
Jane is an experienced editor for EaseUS focused on tech blog writing. Familiar with all kinds of video editing and screen recording software on the market, she specializes in composing posts about recording and editing videos. All the topics she chooses …Read full bio
-
![]()
Alin
Alin is an experienced technical blog writing editor. She knows the information about screen recording software on the market, and is also familiar with data cloning and data backup software. She is expert in writing posts about these products, aiming at providing users with effective solutions.…Read full bio -
Jean is recognized as one of the most professional writers in EaseUS. She has kept improving her writing skills over the past 10 years and helped millions of her readers solve their tech problems on PC, Mac, and iOS devices.…Read full bio
-
![]()
Jerry
Jerry is a fan of science and technology, aiming to make readers' tech life easy and enjoyable. He loves exploring new technologies and writing technical how-to tips. All the topics he chooses aim to offer users more instructive information.…Read full bio -
![]()
Rel
Rel has always maintained a strong curiosity about the computer field and is committed to the research of the most efficient and practical computer problem solutions.…Read full bio -
![]()
Gemma
Gemma is member of EaseUS team and has been committed to creating valuable content in fields about file recovery, partition management, and data backup etc. for many years. She loves to help users solve various types of computer related issues.…Read full bio -
![]()
Shelly
"I hope my articles can help solve your technical problems. If you are interested in other articles, you can check the articles at the bottom of this page. Similarly, you can also check my Twitter to get additional help."…Read full bio
Page Table of Contents
Jean
Updated on Jun 09, 2026
0 Views |
0 min read
Switched from Windows to Mac and can't find the Snipping Tool? Many users struggle with snipping on macOS. This guide shows how to use Snipping Tool on Mac, including shortcuts, built-in tools, and powerful alternatives, to help you capture and edit your screen with ease.
How to crop screenshots on Mac? Pixel-precise cropping Reddit
5 Snipping Tool Shortcuts to Screenshot on Mac
While Mac doesn't have a native app called "Snipping Tool", it offers multiple built-in keyboard shortcuts that work even better for quick screenshots. Below are the top five snipping-style shortcuts every Mac user should know.
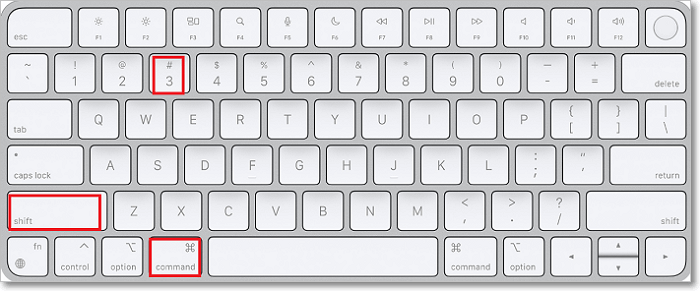
Shortcut 1. Shift + Command + 3 to Record the Entire Screen
- Best for: Quickly capturing everything visible on your screen.
- Pros: Instant full-screen screenshot saved automatically.
- Cons: Cannot select specific areas or windows.
This is the simplest and fastest way to grab a full screenshot on Mac. It's especially useful for users who need to capture an entire webpage, desktop layout, or full-screen app view in one click.
🚩Here is how to snip on Mac with Shift + Command + 3 keyboard:
Step 1. Make sure the content you want to capture is fully visible on your screen.
Step 2. Press Shift + Command (⌘) + 3 simultaneously.
Step 3. The screenshot will automatically be saved to your desktop by default, usually as a PNG file named like Screen Shot [date] at [time].png.
- Tips
-
1. If you only want to save screenshot to clipboard, press Control + Shift + Command + 3.
2. For multiple monitors, each screen is captured separately.
3. Click the floating thumbnail after capture to annotate or crop quickly.
4. All the built-in snipping tools on Mac cannot take scrolling screenshots. You'll need a professional Mac screenshot tool.
Share this post to help more users!

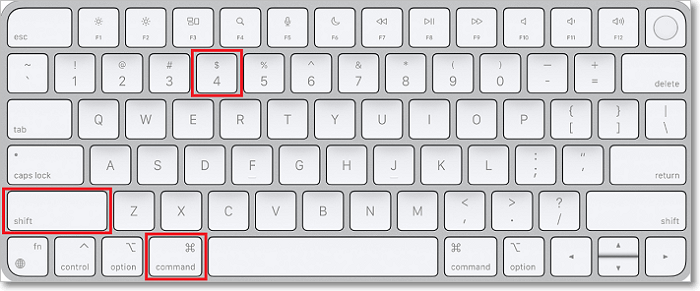
Shortcut 2. Shift + Command + 4 to Capture a Portion of the Screen
- Best for: Selecting a specific area to capture.
- Pros: Precise control over the screenshot region.
- Cons: Requires careful mouse or trackpad movement.
This shortcut is ideal when you only need to grab a specific section of your screen, like a chart, image, or text snippet, without capturing the whole desktop. It gives you much more flexibility than full-screen screenshots and is widely used for quick, selective snips.
🚩Here is how to snip on Mac with Shift + Command + 4 shortcut:
Step 1. Make sure the content you want to capture is visible on the screen.
Step 2. Press Shift + Command (⌘) + 4.
Step 3. Your cursor will change to a crosshair.
Step 4. Click and drag to select the area you want to capture.
Step 5. Release the mouse or trackpad button to take the screenshot. The image will automatically save to your desktop.
- Additional Notes:
-
1. Hold spacebar to move the selection box while dragging.
2. Press Escape to cancel selection.
3. Use the floating thumbnail to annotate or crop instantly.
Shortcut 3. Shift + Command + 4 + Space Bar to Record a Window/Menu
- Best for: Capturing an app window or menu neatly.
- Pros: Automatically adds a polished shadow effect.
- Cons: Cannot capture multiple windows or scrolling content.
This shortcut is a hidden gem for professionals, content creators, and anyone preparing visual documentation. Unlike full-screen or freehand selections, this method cleanly captures an entire window, perfect for showcasing app interfaces, error messages, or dropdown menus. The added shadow also makes the screenshot look more professional by default.
🚩Here is how to snip on Mac with Shift + Command + 4 + Space Bar:
Step 1. Press Shift + Command (⌘) + 4.
Step 2. Then immediately press the Space Bar.
Step 3. The crosshair cursor will change into a camera icon.
Step 4. Hover your cursor over the window or menu you want to capture; it will highlight in blue.
Step 5. Click the highlighted window or menu to capture it. The screenshot will be saved to your desktop as a PNG file.
- Extra Info:
-
1. Hold Option while clicking to remove the shadow.
2. Open menus before capturing dropdowns.
3. Great for creating clean tutorial images.
Share this post to help more users!
Shortcut 4. Shift + Command + 5 to Record the Entire/Partial Screen/Window
- Best for: Users who want flexible screenshot and screen recording options.
- Pros: Capture or record entire screen, windows, or custom areas with timer and save location controls.
- Cons: Slightly slower to access than direct shortcuts.
This is the most powerful built-in screenshot tool on macOS. When you press Shift + Command + 5, a toolbar appears at the bottom of the screen with multiple capture and recording options. It's ideal for users who want to customize their screenshot experience or need to record their screen without third-party apps.
🚩Here is how to snip on Mac with Shift + Command + 5:
Step 1. Press Shift + Command (⌘) + 5 to bring up the Screenshot toolbar. Choose from the five options:
- Capture Entire Screen
- Capture Selected Window
- Capture Selected Portion
- Record Entire Screen
- Record Selected Portion
Step 2. Click Options to set a timer, select save location, show/hide mouse pointer, or use the floating thumbnail.
Step 3. Click Capture or Record to proceed with your chosen action.
Step 4. If you recorded the screen, press Stop in the menu bar when finished.

- Things to Know:
-
1. Custom save locations: Use the Options menu to change where screenshots/recordings are saved (e.g., Desktop, Documents, Clipboard).
2. Timed screenshots: Useful for capturing dropdowns or hover states; set a 5 or 10-second delay under Options.
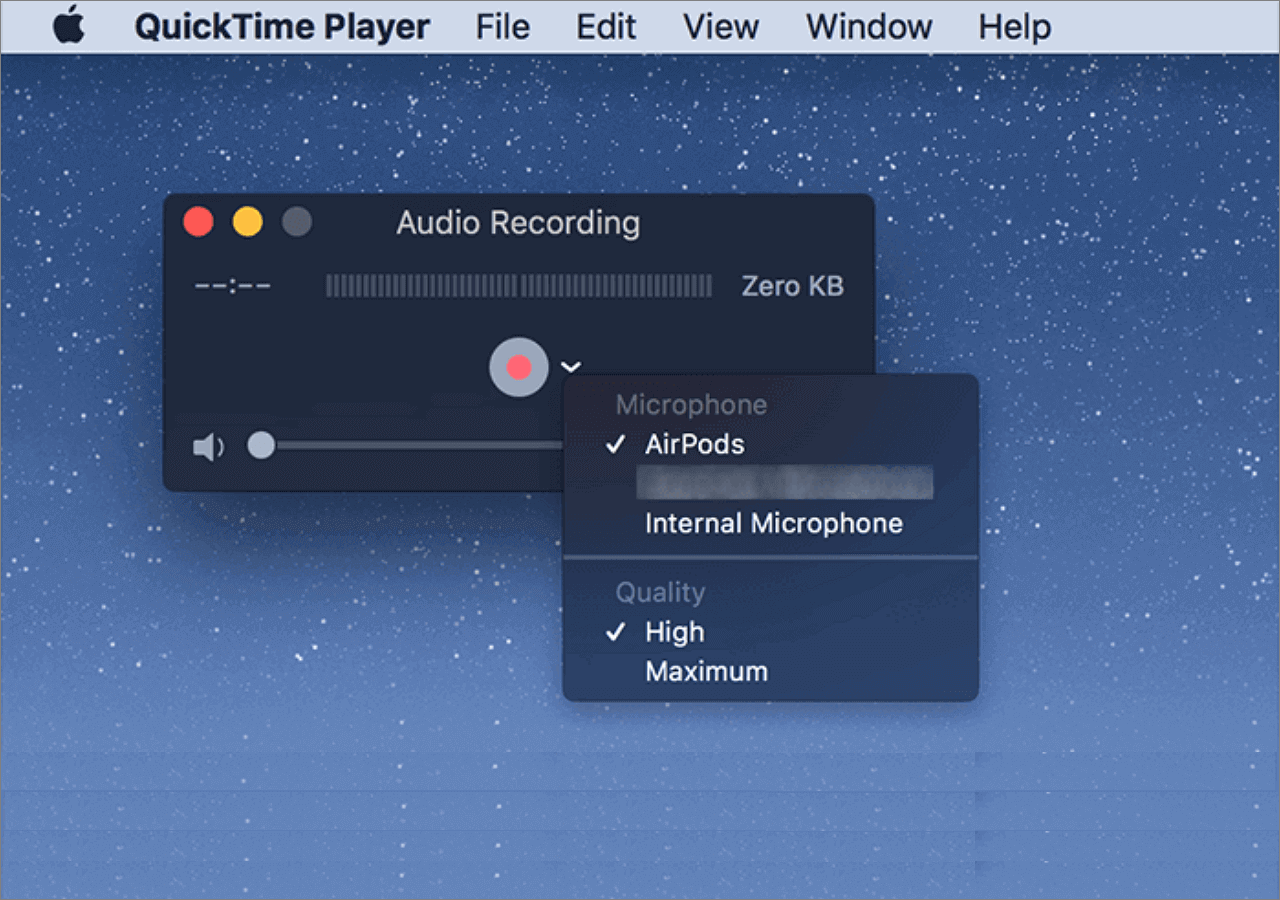
3. Built-in screen recording: No need to use QuickTime; this shortcut includes native recording with audio input selection.
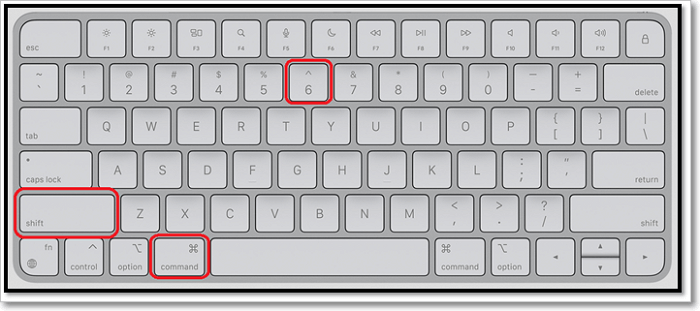
Shortcut 5. Shift + Command + 6 to Capture Touch Bar
- Best for: MacBook Pro users capturing Touch Bar content.
- Pros: Instantly captures the entire Touch Bar.
- Cons: Only works on MacBook Pros with a physical Touch Bar.
This shortcut is a niche but handy tool for those still using older MacBook Pros with a Touch Bar. Whether you're documenting a tutorial, capturing media controls, or showing app-specific Touch Bar options, this method gives you a clean, precise image of the full Touch Bar layout.
🚩Here is how to snip on Mac with Shift + Command + 6:
Step 1. Make sure your Touch Bar is showing the buttons or controls you want to capture.
Step 2. Press Shift + Command (⌘) + 6.
Step 3. The system will instantly take a screenshot of the entire Touch Bar.
Step 4. The image will be saved to your desktop as a horizontal PNG file.
- Extra Info:
-
1. Rare but useful: While most modern Macs no longer include the Touch Bar, this shortcut is still valid for older models.
2. Good for developers/designers: Great for capturing and documenting Touch Bar states when building or testing apps.
3. Cannot select part of the Touch Bar: It captures the whole thing; cropping must be done manually later if needed.
4. No Touch Bar? No effect: If your Mac doesn't have a Touch Bar, pressing this shortcut won't do anything.
Where Does the Snipping Tool Screenshots Save on Mac
By default, all screenshots save to your desktop as PNG files with names like Screen Shot [date] at [time].png. Using the Shift + Command + 5 toolbar, you can customize the save location to folders like Documents, Clipboard, or Preview via the Options menu. If you hold Control while capturing, the screenshot copies to the clipboard instead of saving a file.
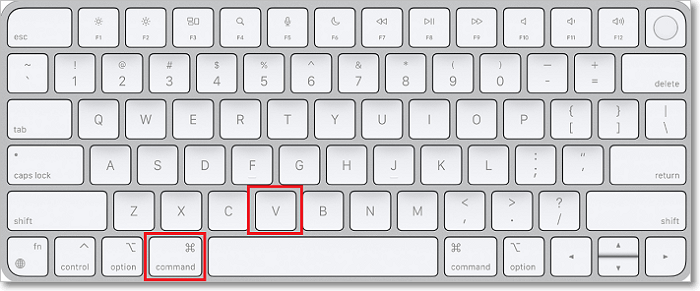
How to Use Snipping Tool for Mac Copy and Paste
To quickly paste a screenshot without saving, add the Control key to any shortcut. For example, Control + Shift + Command + 4 lets you capture a selected area and copies it to the clipboard, ready to paste with Command + V into emails, documents, or chats. This speeds up sharing and reduces desktop clutter.
How to Crop a Screenshot on MacBook
After capturing a screenshot, click the floating thumbnail in the bottom-right corner to open the quick editor. Use the crop tool to adjust the image, then save or share it directly. Alternatively, open the screenshot in Preview, select the desired area, crop, and save. These built-in tools make cropping fast and easy without extra software.
Share this post to help more users!
Conclusion
Knowing how to use Snipping Tool on Mac is essential for anyone who wants quick and efficient screenshot capabilities. While macOS offers powerful built-in shortcuts and tools to capture and edit your screen, sometimes you need even more flexibility and features.
That's where EaseUS RecExperts comes in; it's a versatile screen capture and recording tool designed specifically for Mac users who want advanced options like multi-format exports, annotation, and easy sharing. Whether you're a professional or casual user, combining Mac's native snipping methods with EaseUS RecExperts can take your screenshot and screen recording experience to the next level.