-
![]()
Daisy
Daisy is the Senior editor of the writing team for EaseUS. She has been working in EaseUS for over ten years, starting from a technical writer to a team leader of the content group. As a professional author for over 10 years, she writes a lot to help people overcome their tech troubles.…Read full bio -
Jane is an experienced editor for EaseUS focused on tech blog writing. Familiar with all kinds of video editing and screen recording software on the market, she specializes in composing posts about recording and editing videos. All the topics she chooses …Read full bio
-
![]()
Melissa Lee
Melissa Lee is an experienced technical blog writing editor. She knows the information about screen recording software on the market, and is also familiar with data cloning and data backup software. She is expert in writing posts about these products, aiming at providing users with effective solutions.…Read full bio -
Jean is recognized as one of the most professional writers in EaseUS. She has kept improving her writing skills over the past 10 years and helped millions of her readers solve their tech problems on PC, Mac, and iOS devices.…Read full bio
-
![]()
Jerry
Jerry is a fan of science and technology, aiming to make readers' tech life easy and enjoyable. He loves exploring new technologies and writing technical how-to tips. All the topics he chooses aim to offer users more instructive information.…Read full bio -
Larissa has rich experience in writing technical articles. After joining EaseUS, she frantically learned about data recovery, disk partitioning, data backup, screen recorder, disk clone, and other related knowledge. Now she is able to master the relevant content proficiently and write effective step-by-step guides on various computer issues.…Read full bio
-
![]()
Rel
Rel has always maintained a strong curiosity about the computer field and is committed to the research of the most efficient and practical computer problem solutions.…Read full bio -
![]()
Gemma
Gemma is member of EaseUS team and has been committed to creating valuable content in fields about file recovery, partition management, and data backup etc. for many years. She loves to help users solve various types of computer related issues.…Read full bio
Page Table of Contents
Jane Zhou
Updated on Apr 19, 2024
0 Views |
0 min read
Knowing how to screen record Mac with audio is important, especially when you want to capture and save some clips from online classes or remote meetings on your macOS devices. Here, we provide some workable solutions to help you record Mac screens with sound effortlessly. Whether you are going to record Mac screen with internal sound, microphone audio, or both, you can always find the right method here!
How to Flexibly Record Mac Screen with Internal or Microphone Audio
- Compatibility: macOS10.13 and later; M1-based and M2-based Mac devices
- Capture audio sources: All, including Mac internal audio, microphone sound, speaker voice, etc.
- Operation difficulty: ⭐⭐
EaseUS RecExperts is a one-stop solution for recording screens with sound on Mac. This Mac screen recorder supports capturing multiple audio sources during screen recording, like internal or external microphone sound, speaker audio, and the internal audio coming from your device.
While recording your Mac screens, you are able to use real-time annotation tools to add text or shapes to your video. Or, you can enable the AI noise reduction tool to boost your microphone sound and eliminate the background noise in your recording, so that you will get high-quality Mac screen and audio recordings. Now, you can hit the below button to get this Mac screen recorder with audio.
Download EaseUS Screen Recorder
Download EaseUS Screen Recorder
Trustpilot Rating 4.7
Here's how to record your Mac screen with sound using a professional EaseUS screen recorder.
Step 1. Download and launch EaseUS RecExperts on your Mac. To capture the whole screen, click on the "Full Screen" button from the main interface. If you want to customize the recording area, choose the "Region" button.
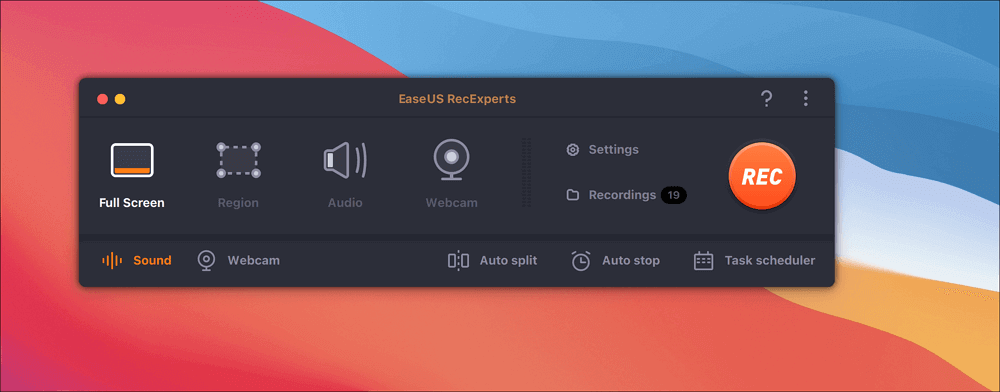
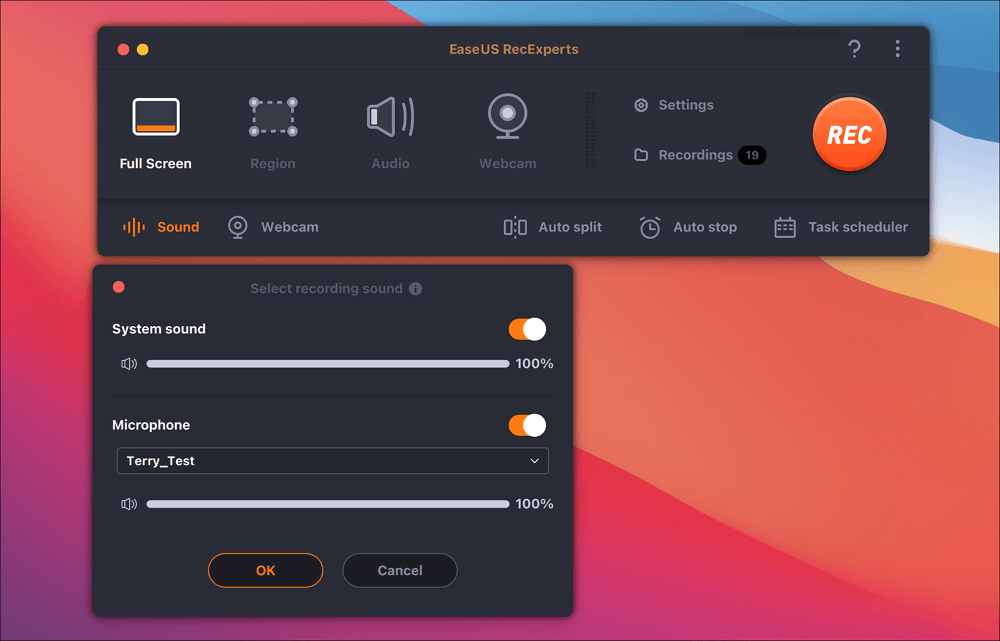
Step 2. To record the screen with audio, hit the Sound icon from the bottom left side of the toolbar. The audio resources can be your external sound or system audio. Based on your needs, enable the target option.
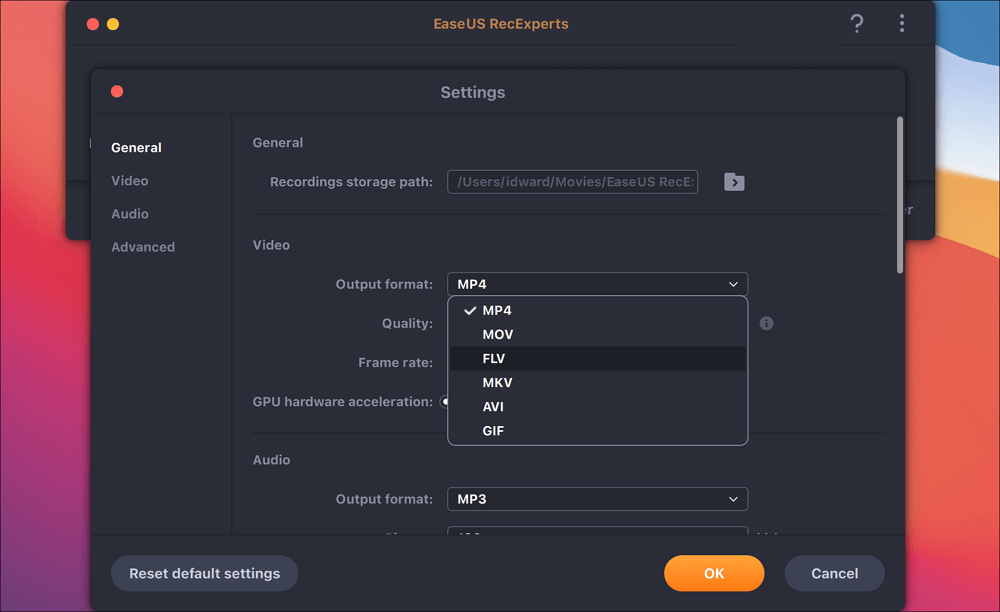
Step 3. Before capturing, you can change the output format of the recorded video by clicking "Settings" from the main interface. Then, scroll down the menu of Output format for Video. Choose the output type as you like.
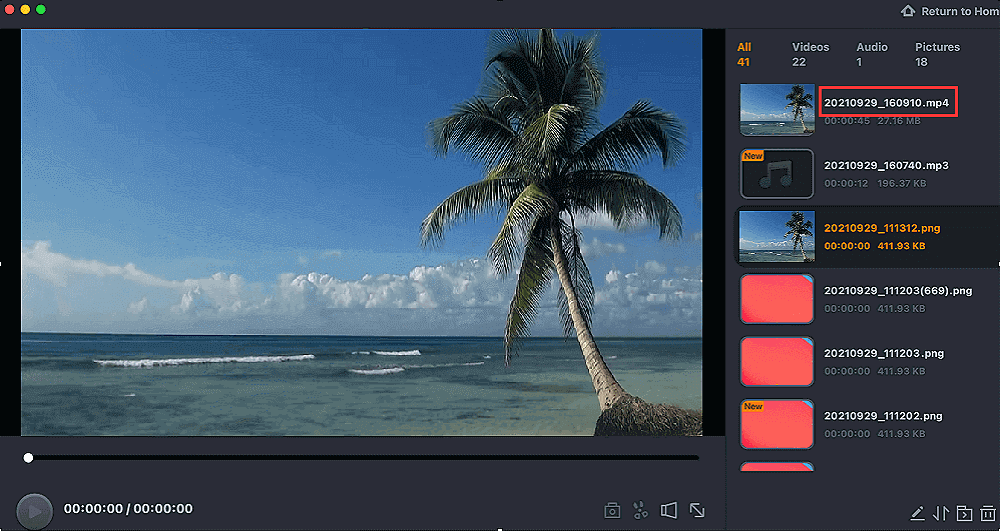
Step 4. Once done, click the REC button to begin recording. It captures anything displayed on your Mac screen. When you are done, click the Stop button. Then you can watch the recorded video from "Recordings".
Share this helpful guide with others in need!
How to Directly Record Mac Screen with Microphone Audio
- Compatibility: Mojave OS or a more recent macOS
- Capture audio sources: Only your microphone sound
- Operation difficulty: ⭐
If your Mac is running Mojave OS and the later version, you can directly capture your Mac screen with audio via the Screenshot Toolbar. With a few shortcuts, you can complete Mac screen recording with audio.
However, you need to keep in mind that this freeware only supports recording Mac screens with the microphone audio. In other words, you cannot use it to record movies with audio on your Mac. So, it is suitable for those Mac users who want to create a training video or course video with their talking voice.
Here's how to record screen on Mac with audio for free:
Step 1. First, you need to open the Screenshot tool by pressing the Shift + Command + 5 on your keyboard. Or, you can use the Launchpad to activate this freeware.
Step 2. Next, you need to choose the area you want to record on Mac, like an entire screen, a single window, a portion of the screen, etc.
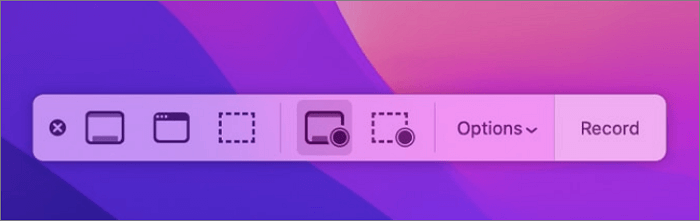
Step 3. Then, click on the Options button next to the Record to adjust your recording parameters. Here, you can choose to record the Mac screen with a microphone, set up a time-lapse or display the mouse pointer or click, or change the saving path for your final recordings.

Step 4. Later, click Record to start your recording task. To stop the Mac screen and sound recording, you can click Stop or press Command + Control + Esc to end it.
Step 5. Once done, you can find the .mov recording file on your desktop for watching or sharing.
How to Screen Record on Mac with Audio for Free using QuickTime
- Compatibility: macOS X Yosemite (10.10) or later versions
- Capture audio sources: Record your microphone audio by default. To capture Mac system audio, you need to install Soundflower and set it as your output audio device.
- Operation difficulty: ⭐⭐⭐⭐
If you want to record the screen on a Mac with internal and external audio freely without any third-party screen and audio recorder, QuickTime Player is a nice choice.
It is pre-installed on your Mac device, which supports recording screen and audio with a few simple clicks. Better than the Screenshot Tool, it is more friendly to the old macOS systems and supports recording Mac screen with internal audio (The precondition is that you have already installed Soundflower). However, it lacks some advanced recording features accordingly, such as schedule recording, hotkey recording, and more.
Anyway, it is an excellent option for those who need to record a Mac screen with audio on an older Mac device.
Here is how to record a Mac screen with audio using QuickTime:
Scenario 1: Record screen on Mac with microphone sound via QuickTime Player
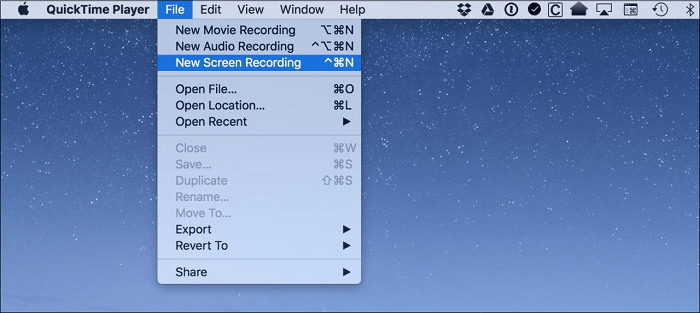
Step 1. Launch QuickTime Player on your Mac.
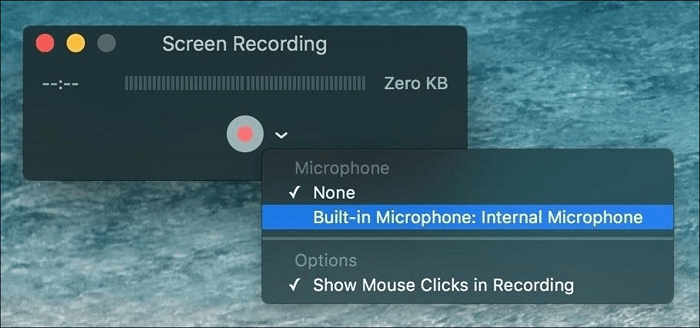
Step 2. Click File > New Screen Recording. Next, choose the microphone as your audio input by hitting the arrow next to the record button.
Step 3. Then, drag your mouse to select the region you want to record, and click Start Recording.
Scenario 2. Record Mac screen with internal audio
Step 1. Download Soundflower and set it as your audio output device. You can click System Preferences > Sound > Output, and then choose Soundflower (2ch) from the output devices list.
Step 2. Next, Open QuickTime Player and choose New Screen Recording.
Step 3. Then, select the audio input device and start your Mac screen and audio recording with QuickTime Player.
How to Easily Capture Mac Screen with Both System and Microphone Audio Online
- Compatibility: all macOS devices
- Capture audio sources: Mac internal audio, microphone sound, or both
- Operation difficulty: ⭐
The last way to record screen and audio on Mac is to use an online screen recorder. Here, we take EaseUS Online Screen Recorder as an example.
With its aid, you can easily record the screen with sound on MacBook, MacBook Pro, MacBook Air, or any other Mac computer model, as it works directly in any mainstream browser. Aside from audio, you can even add a webcam overlay on your screen for recording. Without further ado, let's check how it works for Mac screen and audio recording:
Step 1. Go to its official webpage and choose the Start Recording button.
Step 2. Next, choose the audio input you want to capture, like the System sound, microphone, or both. If you want to record yourself simultaneously, enable the Webcam option.
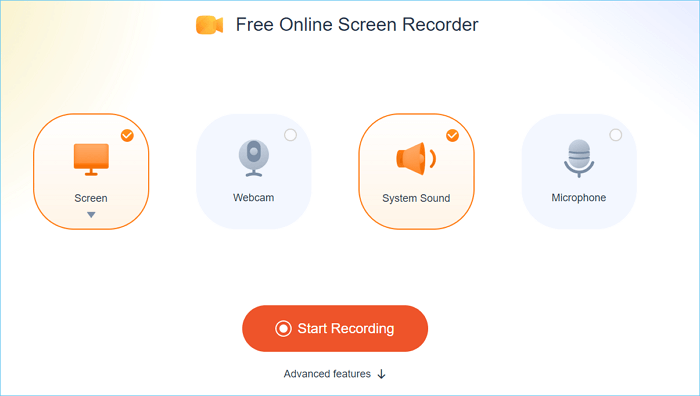
Step 3. Then, click Start Recording to choose your recording area. Here, you can choose to record a specific tab, a single window, or the full screen on your Mac device.
Step 4. When everything is ready, click Share to begin your recording at the bottom.
Final Words
On this page, we have discussed 4 easy solutions for recording a Mac screen with audio, and you can choose the one that suits your needs best. For your convenience, we highly recommend EaseUS RecExperts, which lets you capture both system sound and external audio during your Mac screen recording!
Download EaseUS Screen Recorder
Download EaseUS Screen Recorder
Trustpilot Rating 4.7
Screen Record on Mac with Audio FAQs
1. How do I record internal audio on my Mac?
For your convenience, you can use a professional internal audio recorder to capture the internal audio on your Mac device like EaseUS RecExperts. Just download and install it, choose the audio input device, and click Start.
What's more, you can still rely on the built-in recorder - QuickTime, but you need first to download and install Soundflower. Then, you can start recording internal audio on your Mac.
2. Why won't QuickTime screen record with audio?
Here are some common reasons you can have a look:
- You use an outdated version
- You didn't choose the audio input device
- The input sound or the speaker volume is too low
- QuickTime doesn't support capturing system audio
3. How do I record my screen with voiceover on Mac?
You can use the ScreenShot Tool or QuickTime to record your Mac screen with voiceover.
EaseUS RecExperts

One-click to capture anything on screen!
No Time Limit, No watermark
Start Recording