-
![]()
Daisy
Daisy is the Senior editor of the writing team for EaseUS. She has been working in EaseUS for over ten years, starting from a technical writer to a team leader of the content group. As a professional author for over 10 years, she writes a lot to help people overcome their tech troubles.…Read full bio -
Jane is an experienced editor for EaseUS focused on tech blog writing. Familiar with all kinds of video editing and screen recording software on the market, she specializes in composing posts about recording and editing videos. All the topics she chooses …Read full bio
-
![]()
Alin
Alin is an experienced technical blog writing editor. She knows the information about screen recording software on the market, and is also familiar with data cloning and data backup software. She is expert in writing posts about these products, aiming at providing users with effective solutions.…Read full bio -
Jean is recognized as one of the most professional writers in EaseUS. She has kept improving her writing skills over the past 10 years and helped millions of her readers solve their tech problems on PC, Mac, and iOS devices.…Read full bio
-
![]()
Jerry
Jerry is a fan of science and technology, aiming to make readers' tech life easy and enjoyable. He loves exploring new technologies and writing technical how-to tips. All the topics he chooses aim to offer users more instructive information.…Read full bio -
![]()
Rel
Rel has always maintained a strong curiosity about the computer field and is committed to the research of the most efficient and practical computer problem solutions.…Read full bio -
![]()
Gemma
Gemma is member of EaseUS team and has been committed to creating valuable content in fields about file recovery, partition management, and data backup etc. for many years. She loves to help users solve various types of computer related issues.…Read full bio -
![]()
Shelly
"I hope my articles can help solve your technical problems. If you are interested in other articles, you can check the articles at the bottom of this page. Similarly, you can also check my Twitter to get additional help."…Read full bio
Page Table of Contents
0 Views |
0 min read
Mainly, professional gamers and social media users want to play games and other entertainment apps at once on PCs. The reason is to enhance their user experience. Conversely, professional people prefer using the Android apps on their systems, especially those related to work. This helps lower the chances of distraction you might face while using mobile phones.
In simple terms, no matter what app you are using, it becomes easier to use on the widescreen compared to smartphones. Moreover, you will also find this program helpful if your phone is not accessible at a time.
This article entails how to download & install Bluestacks on Windows, its basic settings, and the procedure to run Android apps along with efficient software to record the screen. Let's take a plunge into the details!
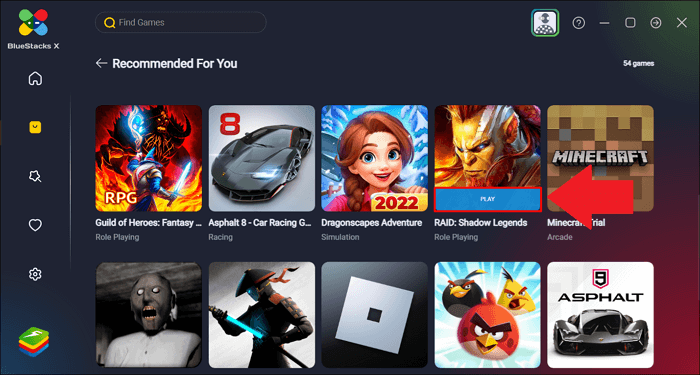
How to Download and Install Bluestacks on Windows PC
Released in 2011, Bluestacks became a well-known Android emulator for both Windows users. It assists you in filling the gap between the mobile and desktop ecosystem so you can run almost any android app desktop without consuming your phone battery. Though it carries out many functions like recording, it is considered an ideal software for mobile games because of its unique Game Center.
Simply, what you will get are smooth processing and improved accuracy. Furthermore, it provides you with better visibility on the wide PC screen. Also, you will get the advanced gaming experience along with the Bluestacks strategy guides. Most importantly, you can get its paid version for advanced customization features and quick customer support options.
You will learn the procedure soon if you are a beginner, but if you are a pro, you can easily benefit from this top-notch gaming glory!
Before moving forward, keep in mind the system requirements. These include the minimum 4GB RAM, 5GB free Device Space, Intel/AMD Processor, updated Graphics Drivers, and at least Windows 7 OS.
Now, let's know the detailed steps for how to use Bluestacks on Windows 10, but firstly, there is a requirement to download and install Bluestacks on Windows:
Step 1. First of all, you have to open the official website of this program on your PC. You will get the two versions; however, you need to click on the "See all versions" tab. It will take you to the next screen.
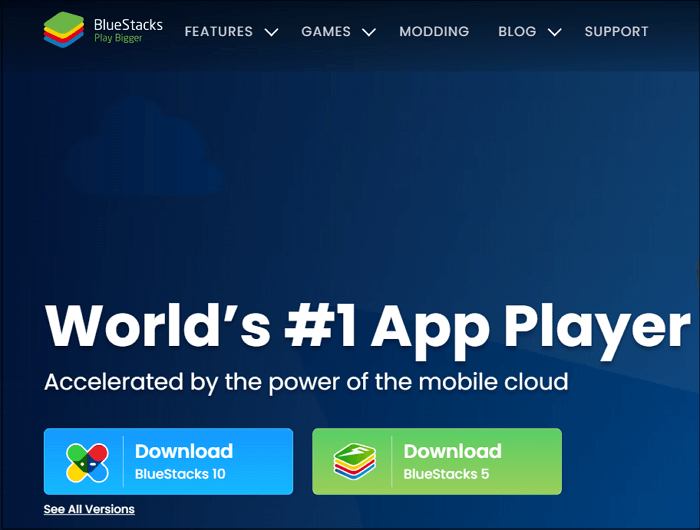
Step 2. Now, scroll down, where the section "For Windows" appears. Click on any "Download" button to proceed further. It will get downloaded instantly if the internet is stable. Here, you need to open the program.
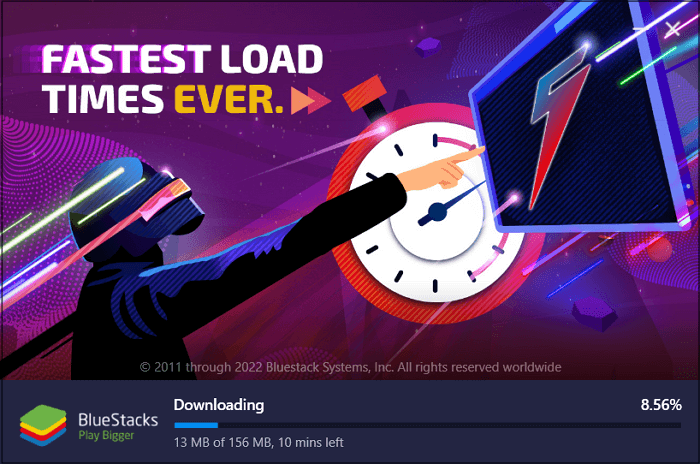
Step 3. Next, press Yes > Install to begin your installation. Once done, it will start downloading all the parts, which takes some time.
Basic Settings for Bluestacks
Now that you have learned the download and installation method and system requirements, the next stage is to master its basic settings. These will help you improve your experience and make the most out of this software. Otherwise, you will encounter issues during the app running process. Indeed, no one wants to take this risk, so let's begin!
Here is all you need to know about the basic settings for how to use Bluestacks properly:
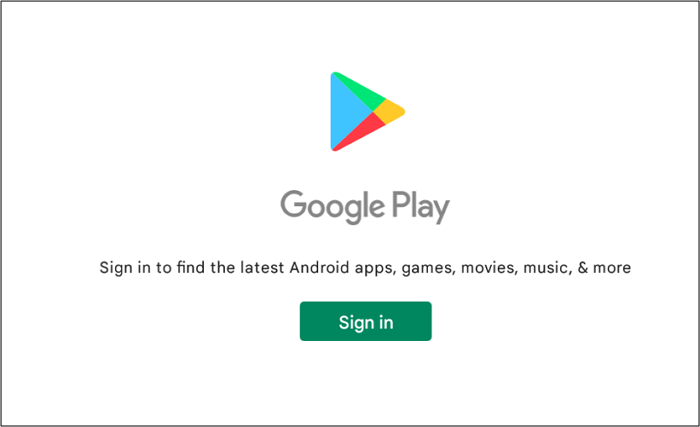
Step 1. After launching the software on your Windows system, you will see the notification of signing in to your Google Play account. Sign-in is a must thing to do before running the Android apps.
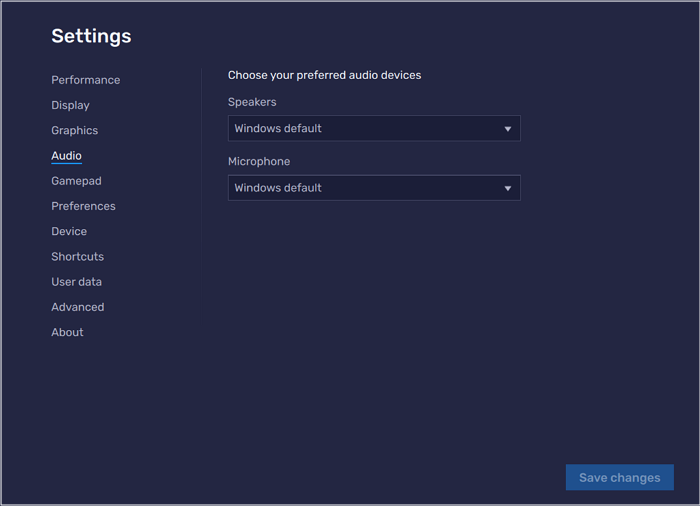
Step 2. Now, click the three bars icon from the top right-side menu. Here you can select the frame rate, resolution, pixels, speakers, and microphone. Even it is possible to choose the language and adjust the Gamepad input settings. Click "Save Changes" at the end.
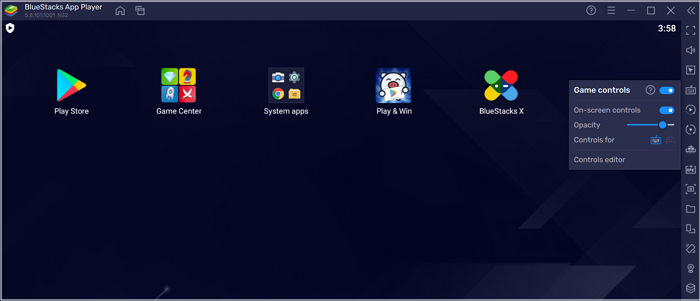
Step 3. Finally, you can adjust volume, game controls, screen rotation, and others from the sidebar menu. Now, you are all done!
How to Use Bluestacks to Run Android Apps on PC
Here is the most crucial stage of using Bluestacks, where you are all set to run an Android app on your Windows system. It's what you have previously worked out for. Indeed you will need the assistance to get through this stage, so look at the below content without wasting any time!
Let's move forward toward the tutorial for how to use Bluestacks to run the Android apps on a PC effortlessly:
Step 1. The first step requires you to launch the software on your PC. Since you have logged in to Play Store during the basic settings, you need to search for the application you want to run. Choose an app to look into its details.
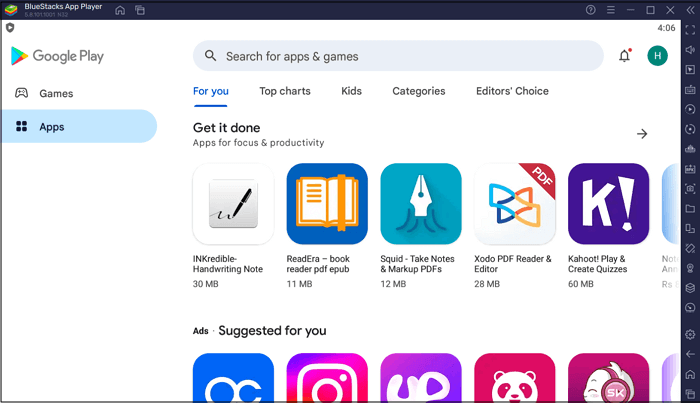
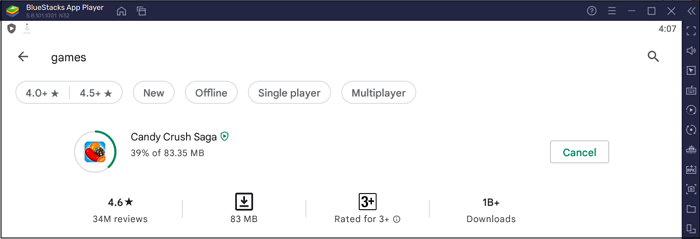
Step 2. Next, press the "Install" tab, and an installation notification appears on the right. After completion, click the installed application icon to get it opened. Each app you select will open in the new tab so you can switch these to move from one to another.
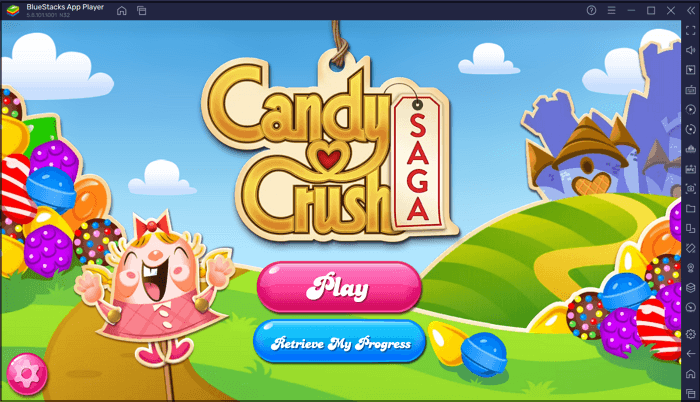
Step 3. All the controls will be available on the right-side column from where you can manage the tasks like taking screenshots, sharing location, or recording.
How to Record Android Screen on PC
Besides running various games or other apps on a single platform, people sometimes want to record the Android screens. Bluestacks also offer this feature, but it's complex to use. Since it's also unsuitable for professionals, it is wise to use lightweight software like EaseUS RecExperts. Below are the details!
Suppose you are looking for a full-fledged screen recorder with many features, simple functionality, and a user-friendly interface. In that case, EaseUS RecExperts must be your way to go. It helps you in the easy recording of your PC screen along with the flexibility of selecting the screen capture area, connecting the webcam, and setting the volume as per your demands. Additionally, you can benefit from this program's auto-split and auto-stop functions.
As far as the recordings are concerned, they will be visible in the recordings tab after you finish. Even you are able to schedule this capturing task if required. While recording, you have the option to alter the video and audio settings like frame rate, sample rate, bitrate, quality, and output format. Last but not least, you can get technical support if you face any issues.
EaseUS RecExperts
- Suitable for even the beginners and naive users
- Adjust the audio and video preferences
- Offer the GPU hardware acceleration technology
- Let you use the hotkeys for quick processing
- Support formats like FLV, MKV, MOV, GIF, MP4, etc.
Here's how to record Android screen on PC using EaseUS RecExperts:
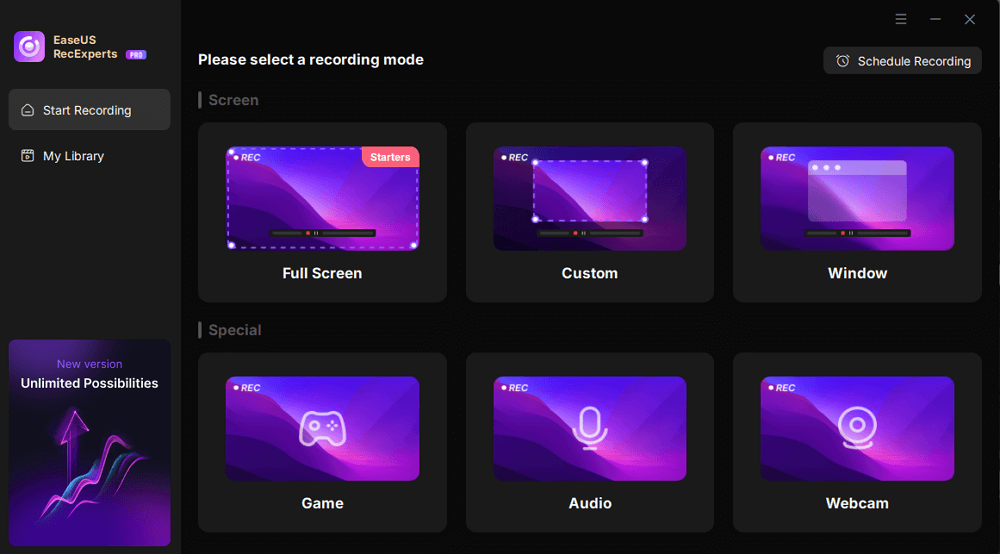
Step 1. Launch EaseUS RecExperts. You'll see six recording modes available. Choose Full Screen to capture everything on your display, Custom to record a selected area, Window to record a specific app window, Game for optimized gameplay recording, Audio to capture system or microphone sound only, and Webcam to record your webcam feed.
Step 2. Select your input sources. You can freely enable or disable the Webcam, Speaker, or Microphone depending on your needs. If you only want to record a silent screen, simply turn all of them off.

Step 3. Click the red REC button to start recording. A floating control bar will appear on your screen. To pause the recording, click the Pause button (white); to stop it, click the Stop button (red).
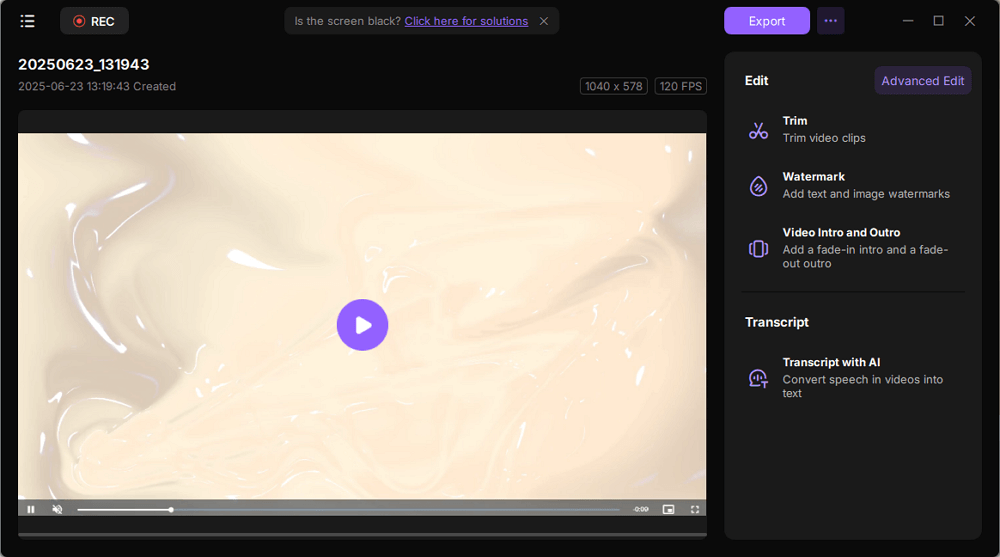
Step 4. After recording, you'll be taken to the preview window, where you can watch, trim, or edit your recording with ease.
The Bottom Line
Many scenarios demand you to run/play multiple apps or games simultaneously on PCs, and Bluestacks proves beneficial in that case. Though running the Bluestacks program for beginners seems challenging, you can easily download, install, and run any Android app by following the above-detailed procedures.
However, what to do if you want to record the screen? Try the EaseUS RecExperts without delaying a moment. It does not aid you in quick and efficient recording but also offers a unique and extensive range of features.
EaseUS RecExperts

One-click to capture anything on screen!
No Time Limit, No watermark
Start Recording