-
![]()
Daisy
Daisy is the Senior editor of the writing team for EaseUS. She has been working in EaseUS for over ten years, starting from a technical writer to a team leader of the content group. As a professional author for over 10 years, she writes a lot to help people overcome their tech troubles.…Read full bio -
Jane is an experienced editor for EaseUS focused on tech blog writing. Familiar with all kinds of video editing and screen recording software on the market, she specializes in composing posts about recording and editing videos. All the topics she chooses …Read full bio
-
![]()
Alin
Alin is an experienced technical blog writing editor. She knows the information about screen recording software on the market, and is also familiar with data cloning and data backup software. She is expert in writing posts about these products, aiming at providing users with effective solutions.…Read full bio -
Jean is recognized as one of the most professional writers in EaseUS. She has kept improving her writing skills over the past 10 years and helped millions of her readers solve their tech problems on PC, Mac, and iOS devices.…Read full bio
-
![]()
Jerry
Jerry is a fan of science and technology, aiming to make readers' tech life easy and enjoyable. He loves exploring new technologies and writing technical how-to tips. All the topics he chooses aim to offer users more instructive information.…Read full bio -
![]()
Rel
Rel has always maintained a strong curiosity about the computer field and is committed to the research of the most efficient and practical computer problem solutions.…Read full bio -
![]()
Gemma
Gemma is member of EaseUS team and has been committed to creating valuable content in fields about file recovery, partition management, and data backup etc. for many years. She loves to help users solve various types of computer related issues.…Read full bio -
![]()
Shelly
"I hope my articles can help solve your technical problems. If you are interested in other articles, you can check the articles at the bottom of this page. Similarly, you can also check my Twitter to get additional help."…Read full bio
Page Table of Contents
0 Views |
0 min read
There may be times when you want your computer to record the screen and audio automatically, especially when you have scheduled calls, online educational classes, and basically anything that begins at a specific time. If you get a timer recorder on your device and set recording tasks following the time arrangement, everything you want to capture will be saved to your PC/MacBook without effort.
Here are some beneficial tools for schedule recording at the specified time period (Windows and Mac).
Top 6 Screen Recorder with Timer:
- Top 1. EaseUS RecExperts
- Top 2. Bandicam
- Top 3. Icecream Screen Recorder
- Top 4. Iris
- Top 5. Flashback Recorder
- Top 6. Debut Video Capture
Top 1. EaseUS RecExperts (Windows and macOS)
EaseUS RecExperts is exactly the beneficial Mac and Windows screen recorder that helps perform scheduled recordings. To operate this function, click the Task scheduler option. Then, add a new task to the lists. You can set your task name, the start time, and when to end the task. What's more, this functional tool can even allow you to choose to repeat this mission daily or weekly.
Your auto-recording will become an easy task when using this tool. You can record audio on Windows 10 and microphone, your computer screen, and capture your webcam simultaneously.
Not only does this tool let you schedule your screen capturing effectively, but it also allows you to perform some functions. You can also record a Zoom meeting with this recorder.
Main Features:
- Specify multiple recording schedules
- Customizable capturing areas freely
- Various audio sources are optional
- Record webcam while capturing the screen
- Easy to create and manage all your schedules from one place
All its features may help a lot in recording what you need from your device. So don't hesitate to download this great recorder for timed capture.
Here are simple steps to guide you through setting a recording task with this screen recorder with timer.
Step 1. Create a Timed Recording Task
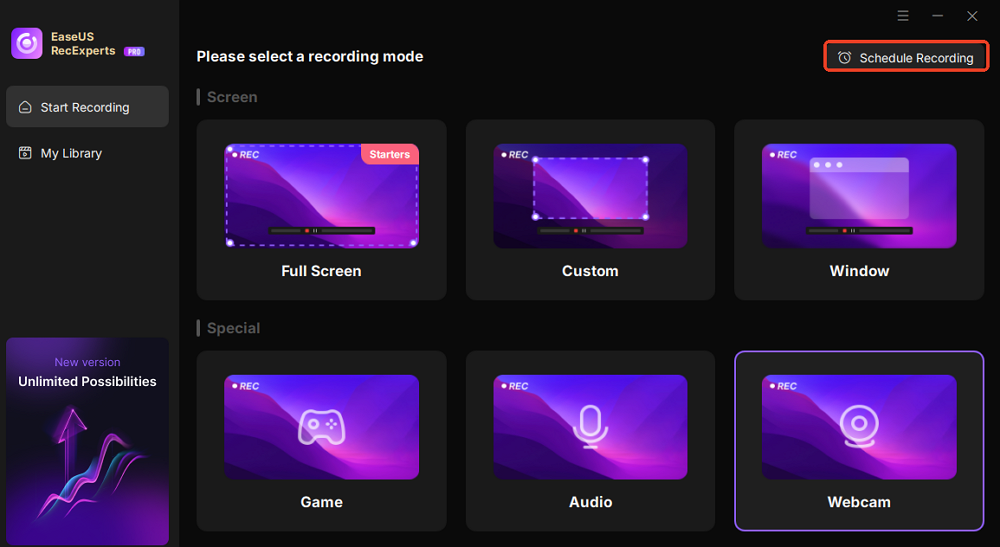
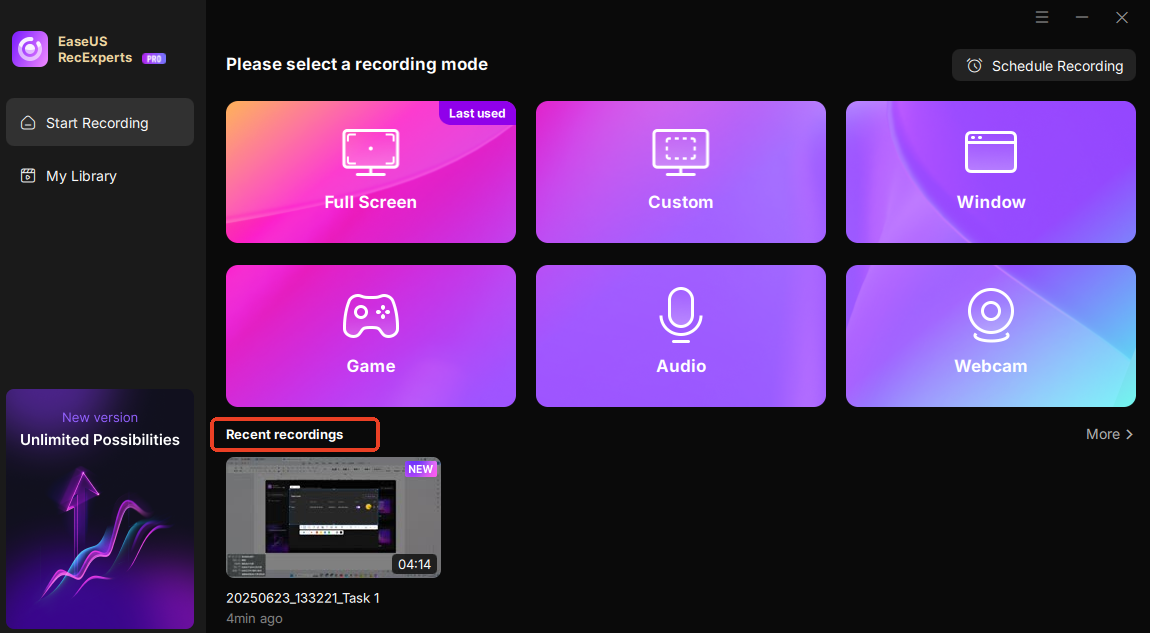
Download and launch the EaseUS screen recorder on your Windows or Mac PCs. Then, click the Schedule Recording button in the upper right corner of the main interface.
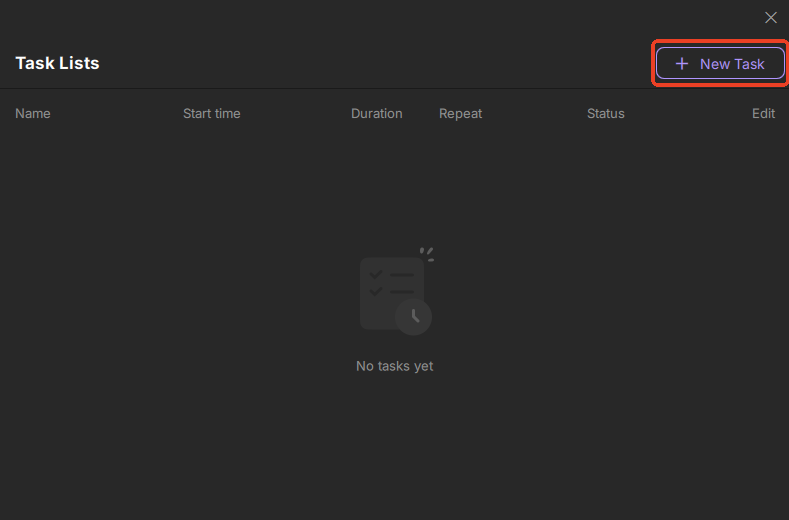
Then, select the New Task option to add a new schedule for the program.
Step 2. Configure the Scheduled Recording Task
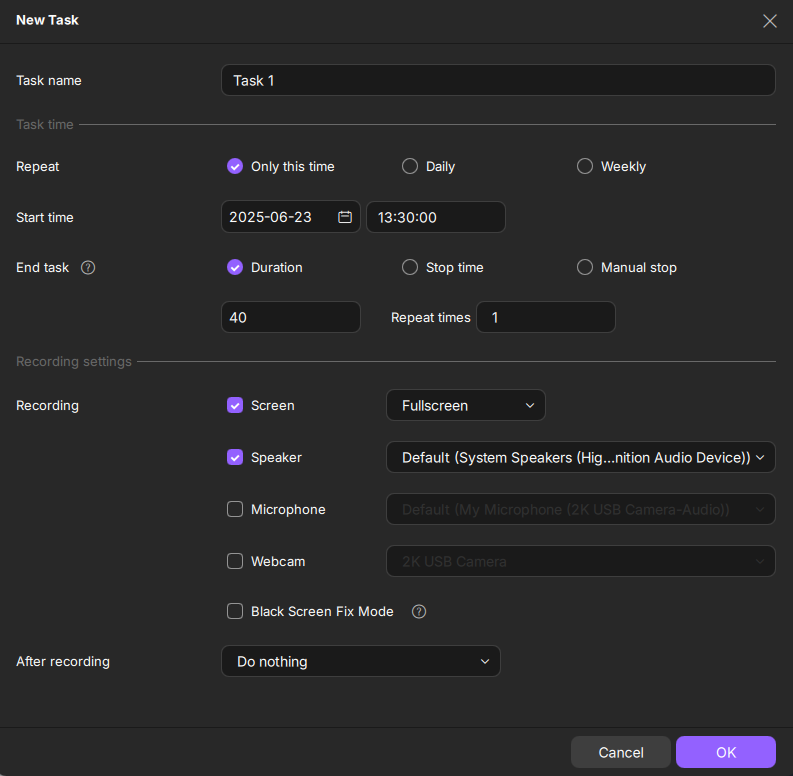
Next, you need to set the relevant information for your scheduled task.
- Name your recording task in the Task name tab.
- In the Task time tab, choose repeat time and specify the recording start and end time.
- In the Recording setting tab, select the recording area, choose the audio input, webcam setting, or choose black screen fix mode. Plus, you can choose to exit the program, sleep/shut down the computer, or do nothing after recording. Then, hit the OK button.
Step 3. Edit or Delete a Scheduled Recording
If you need to change the scheduled recording time or other settings, click the Edit button. If you need to delete the schedule, click the Delete icon.

Step 4. View Your Scheduled Screen Recordings
When the recording start time you set comes, the software will screen record and save the recording video file automatically. You can view this file by clicking the recorded video in the Recent recordings tab.
Top 2. Bandicam (Windows 10/8/7)
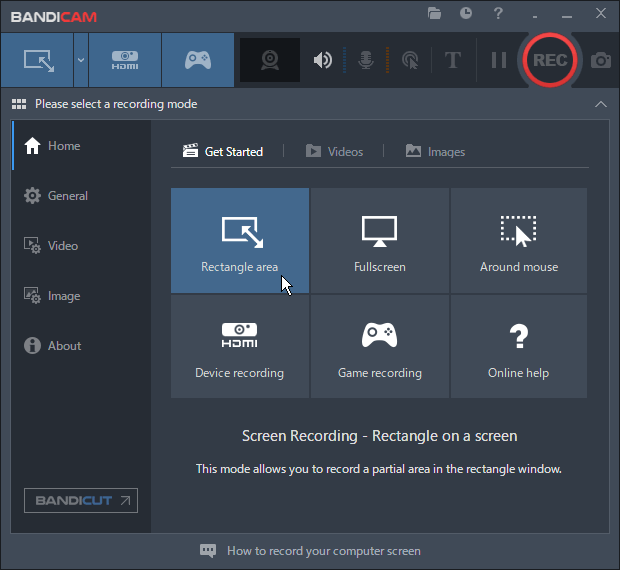
If you have ever tried to find a tool to schedule screen recording on your computer, you will likely be familiar with the Bandicam software. This timed free video recording software has numerous options to help you capture the screen of your computer. It can assist you in scheduling the recording screen on Windows 10 PC without much effort.
Pros:
- Offer you a recording timer
- You can add one-time, daily, and weekly schedules
- Custom options for how the screen should be recorded
Cons:
- The free version adds a watermark to your recordings
- No editing options
How to Use the Recording Timer of Bandicam:
Step 1. Launch the program and click on the Schedule icon at the top to view the schedule options.
Step 2. Click on the "Add" button to add a new schedule to the tool.
Step 3. On the following screen, specify the options for your scheduled recording. Then, click on "OK" at the bottom.
Step 4. The tool will start recording the screen when your specified time comes.
Top 3. Icecream Screen Recorder (Windows and macOS)
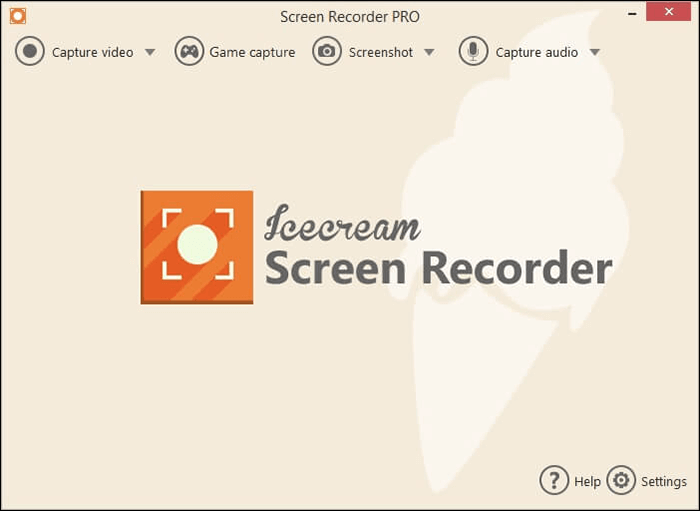
Icecream Screen Recorder is another nice tool to schedule screen recording on your computer automatically. Besides allowing you to customize your recording area and other options, this screen and audio recorder lets you set a recording task freely on Windows and Mac, too. You can use the tasks option to specify and automate all your recording schedules.
Pros:
- Easy to add new scheduled tasks
- Neat, clean, and organized user interface
- Clear all schedules at once
Cons:
- Not many options to customize for scheduled recordings
- The free version only lets you record for up to five minutes
How to Use Icecream Screen Recorder for Timed Capture:
Step 1. Open the tool on your computer and select the option that says "Tasks" at the top.
Step 2. Click on the "+" (plus) icon on the following screen to add a new scheduled task to the tool.
Step 3. Enter the options for your new scheduled recording and click on "Save" at the bottom.
Step 4. Your task will run at the specified time. You can edit and manage it on the "Tasks" screen.
Top 4. Iris (macOS)
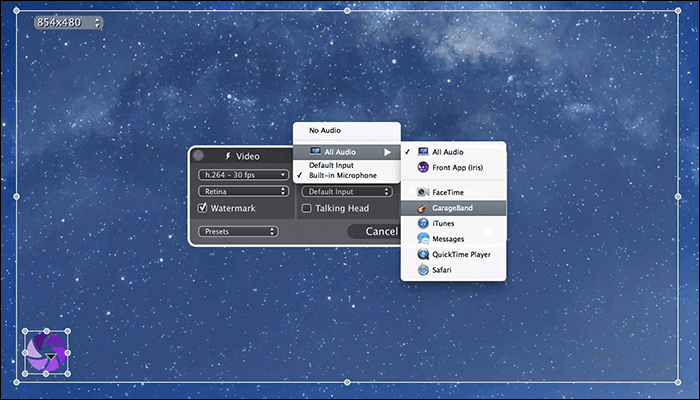
Iris is an app built for Apple's Mac machines that allows you to screen record on Mac as well as use scheduled recording features. This app's main focus is on helping you quickly and easily make new screen recordings, so the options you will see will reflect this.
Pros:
- Easy to configure the recording schedules
- Better and customizable file naming options
- Add a webcam overlay to your recordings
Cons:
- You cannot create and manage multiple schedules for screen recording
- Occasional crashes
How to Schedule Screen Recording Mac with Iris:
Step 1. Click the app icon in the menu bar and select "New Recording".
Step 2. Click the timer icon on the main interface to assign a new schedule.
Step 3. Select an option from the "Start recording" and "Stop recording" dropdown menus.
Step 4. Click on the "Record" button, and the app will start recording at the specified time.
Top 5. FlashBack Recorder (Windows 7/8.1/10)
FlashBack Recorder is your full solution to everything regarding screen recording. From recording screen, and editing the recording, to finally sharing your recorded videos, it helps you do all those things without any hassle. This timed video recorder has a nicely designed schedule recording function to begin or end your screen recording at a specific time.

Pros:
- Support timed recording on Windows PC
- Multi-track editing for your recorded videos
- Quickly upload your recordings to YouTube
Cons:
- You will get a watermark in your recordings in the free version
- It gets sluggish from time to time
- Only has basic editing options
How to Record at a Specific Time with Timer Recorder :
Step 1. Launch the tool and click on the "Scheduled/Unattended Recording" option in the Scheduling menu.
Step 2. Enable the option that says "Use scheduling for the next recording".
Step 3. Specify both start and end times in the fields on your screen.
Step 4. Get back to the main interface and click on "Record". It will record your screen at the specified time.
Top 6. Debut Video Capture (Windows and macOS)
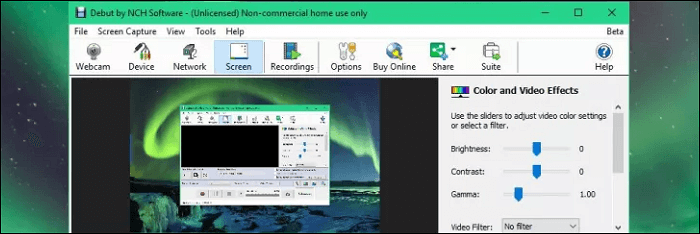
Debut Video Capture software offers basically everything that one needs to screen record on Windows 10. This software lets you record your screen, edit it extensively with built-in options, and export the recording in your chosen file format. The scheduling feature works great to let you start your recordings when your computer is unattended.
Pros:
- Multiple customizable options for scheduled recordings
- Many editing tools
- Support for nearly all video formats
Cons:
- You cannot directly upload videos to sites like YouTube
- Sometimes it gets confusing as there are loads of options
- The free version has limited features
How to Use Debut Video Capture for Timed Recording:
Step 1. Access the tool on your computer and click on "Options" on the main interface.
Step 2. Enter the details for your schedule on the following screen.
Step 3. When the schedule runs, the tool will display a message on your screen.
Conclusion
Users expect a scheduled screen recorder tool to be easy to use and configure, and that is what most of the options above are. EaseUS RecExperts is the best tool to schedule screen recording as it only takes a few clicks to configure, and it records your screen exactly how you describe the settings. The other tools are good as well. Make sure to select the most suitable one for the timed capture on your device.
FAQs About Schedule Recording
This post may solve most of your problems about recording the screen automatically. However, you might be troubled by other issues. The answers in this part can help you.
1. How do I schedule a voice recording?
Here are the steps to auto-start recording with Windows Task Scheduler:
Step 1. Launch the software on your PC.
Step 2. Click on the "Task schedule" button on the main interface. Then, click on "+ New Task" to go to another interface where you can configure the recording task freely.
Step 3. Set the start time and stop time/duration for the recording task and select "None" from the "Recording area" dropdown menu. Then, select the audio input you want to record.
Step 4. Tap on "OK" to save the settings. And this software will perform the recording task automatically.
2. Can I schedule a screen recording on Mac?
Yes, the EaseUS RecExperts for Mac can do that for you.
Step 1. Launch the program and click on the "Screen" button.
Step 2. Configure other settings for the recording, such as the video size, video quality, and so on.
Step 3. Click on the timer icon, and set the start time and duration for the recording. Hit the "Done" to save the settings.
Step 4. Keep the software running, and the recording will start automatically at the right time.
EaseUS RecExperts

One-click to capture anything on screen!
No Time Limit, No watermark
Start Recording