-
![]()
Daisy
Daisy is the Senior editor of the writing team for EaseUS. She has been working in EaseUS for over ten years, starting from a technical writer to a team leader of the content group. As a professional author for over 10 years, she writes a lot to help people overcome their tech troubles.…Read full bio -
Jane is an experienced editor for EaseUS focused on tech blog writing. Familiar with all kinds of video editing and screen recording software on the market, she specializes in composing posts about recording and editing videos. All the topics she chooses …Read full bio
-
![]()
Melissa Lee
Alin is an experienced technical blog writing editor. She knows the information about screen recording software on the market, and is also familiar with data cloning and data backup software. She is expert in writing posts about these products, aiming at providing users with effective solutions.…Read full bio -
Jean is recognized as one of the most professional writers in EaseUS. She has kept improving her writing skills over the past 10 years and helped millions of her readers solve their tech problems on PC, Mac, and iOS devices.…Read full bio
-
![]()
Jerry
Jerry is a fan of science and technology, aiming to make readers' tech life easy and enjoyable. He loves exploring new technologies and writing technical how-to tips. All the topics he chooses aim to offer users more instructive information.…Read full bio -
Larissa has rich experience in writing technical articles. After joining EaseUS, she frantically learned about data recovery, disk partitioning, data backup, screen recorder, disk clone, and other related knowledge. Now she is able to master the relevant content proficiently and write effective step-by-step guides on various computer issues.…Read full bio
-
![]()
Rel
Rel has always maintained a strong curiosity about the computer field and is committed to the research of the most efficient and practical computer problem solutions.…Read full bio -
![]()
Gemma
Gemma is member of EaseUS team and has been committed to creating valuable content in fields about file recovery, partition management, and data backup etc. for many years. She loves to help users solve various types of computer related issues.…Read full bio
Page Table of Contents
Melissa Lee
Updated on Apr 19, 2024
0 Views |
0 min read
PAGE CONTENT:
- Screen Record on Acer with a Capable Screen Recorder
- Screen Record on Acer Using Xbox Game Bar
- Screen Record on Acer with OBS Studio
- Screen Record on Acer Using Snagit
- Screen Record on Acer FAQs
Acer laptop has a large number of users. And some of them may need to take down what's going on on their screens. If you are also Wondering how to screen record on Acer laptops, this tutorial is what you need. Although some of you will also be curious about how to screenshot on Acer. This article will focus on how to screen record on Acer and save it as a video with simple clicks. Let's dive in!
Screen Record on Acer with a Capable Screen Recorder
To give you a better experience in screen recording, we first introduce EaseUS RecExperts to you. This Mac and Windows screen recorder allows users to capture any on-screen activities with one click. As it is designed firstly for novices, no professional skills are needed in using it.
With this recorder, users are allowed to record the full screen, record an area, record audio, record gameplay, record webcam, and even record screen and webcam at the same time. Moreover, it offers users a built-in video and audio trimmer to edit the recordings easily. Check more information below.
Main Features:
- A webcam, screen and audio recorder for novices
- Record full or partial screen on PC/Mac
- Record gameplay with a webcam in one click
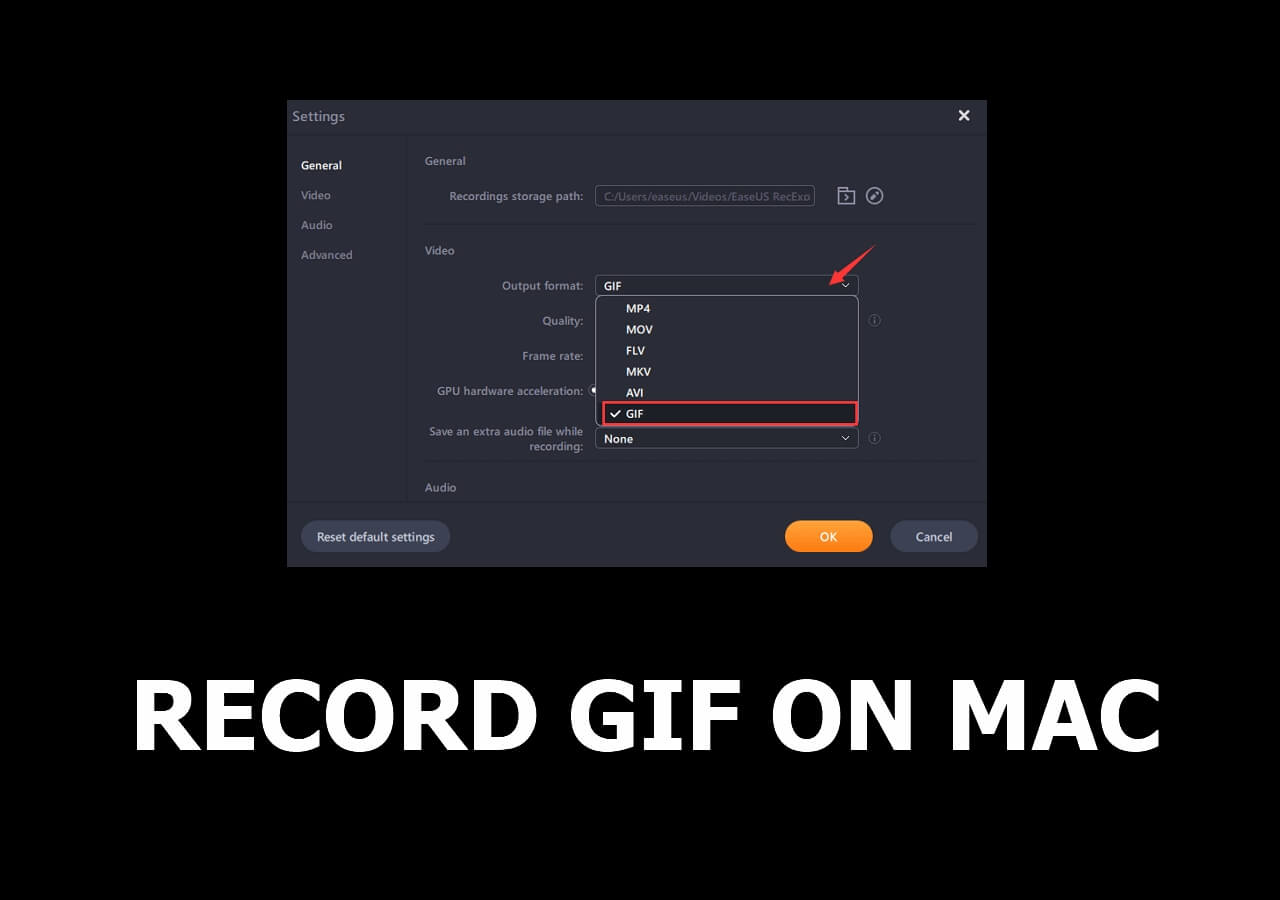
- Export video and audio files in 10+ formats
- Schedule recording tasks in advance
Now, you can click the button below to download this screen recorder and follow the steps to start recording.
Step 1. Run EaseUS RecExperts on your device and you will see two recording modes. You can choose "Full Screen"to record the whole screen or choose "Region" to select the recording area manually before recording.

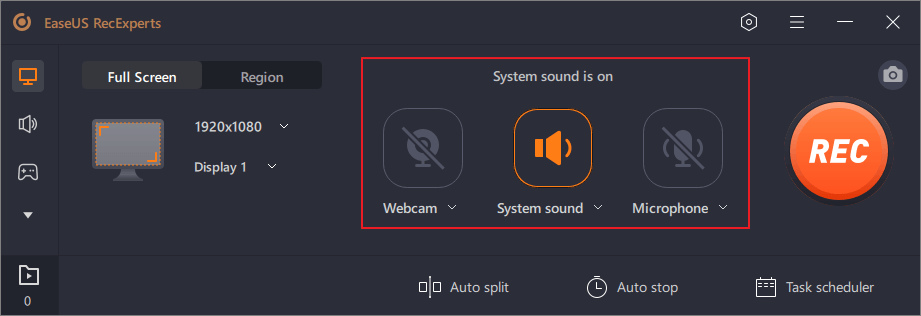
Step 2. After that, you can choose to record the webcam, system sound, microphone or record none of them as you like. You can also set auto split, auto recording with various functions on the interface.
Step 3. Then, you can click the red "REC" button to start recording. Here will be a menu bar on your screen. To pause the recording, click on the white double vertical bar; to end the recording, click on the red square sign.
Step 4. After recording, you will be led to the list interface. Here you can view or edit your recordings. To start a new recording, just click on the "REC" button on the top of the interface.

How to Screen Record With Audio on Acer Laptop (With Webcam)
Want to know the ways to scree record on an Acer laptop with both audio and webcam? In this article, we'll walk you through 3 working ways and the specific steps to simply screen record with audio & webcam on your Acer laptop.
Screen Record on Acer Using Xbox Game Bar
If you don't want to download any software and only need to capture video and audio in the most basic ways, Xbox Game Bar is a good choice for you. Although this is not the best game recorder in the world, it can fulfill the basic task of recording the screen of your Acer computer.
There are some shortcomings in this recorder. For instance, it only supports recording the audio along with the screen. Also, there's no video or audio editing tool. Even, it has a time limitation of 4 hours. If you are OK with these, you can follow the steps to screen record on Acer now.
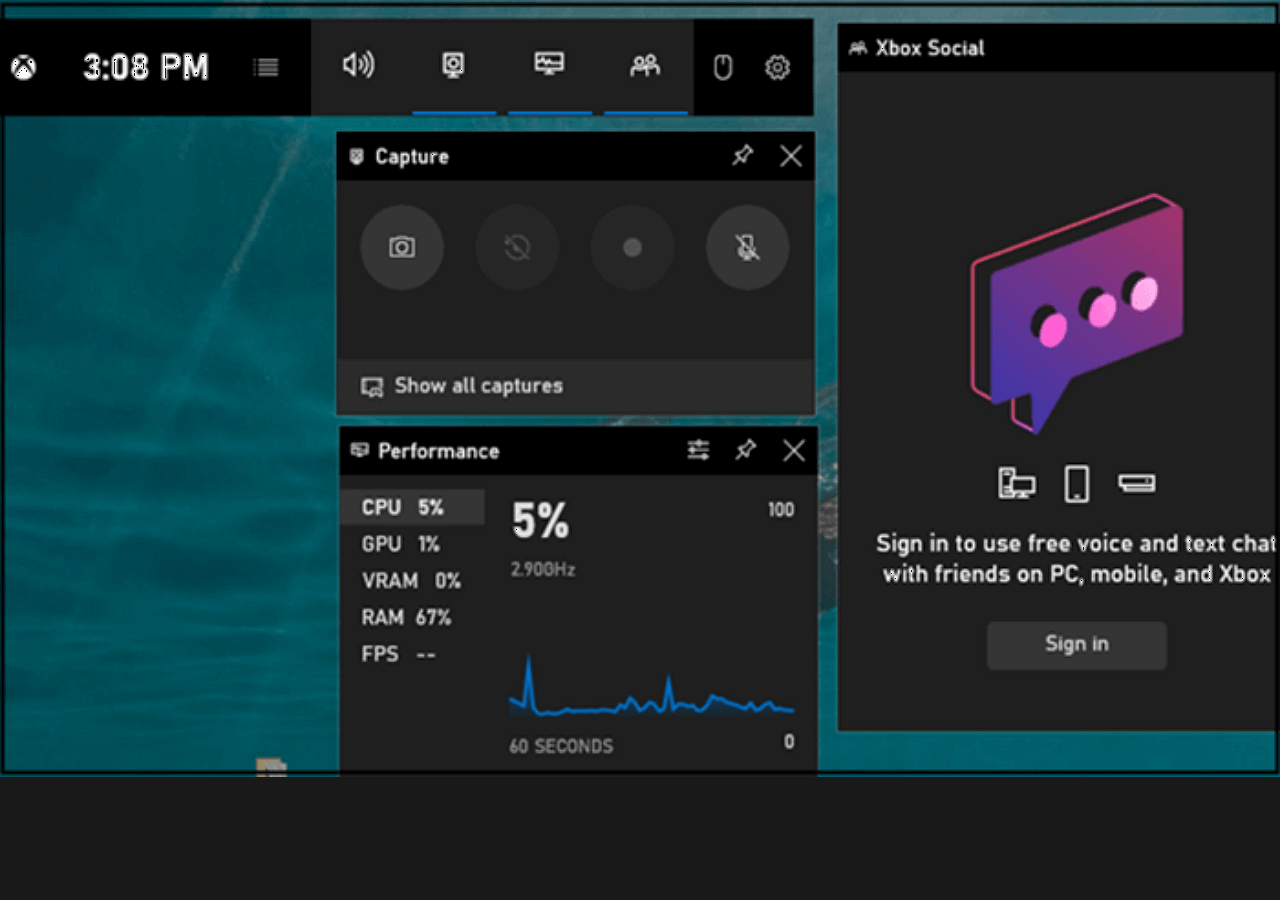
Steps to screen record on Acer using Xbox Game Bar:
Step 1. Press "Win + G" on your keyboard simultaneously to launch Xbox Game Bar on your PC.
Step 2. Click on the "Record" button to start recording.
Step 3. Click on the "Stop recording" button to complete the recording.
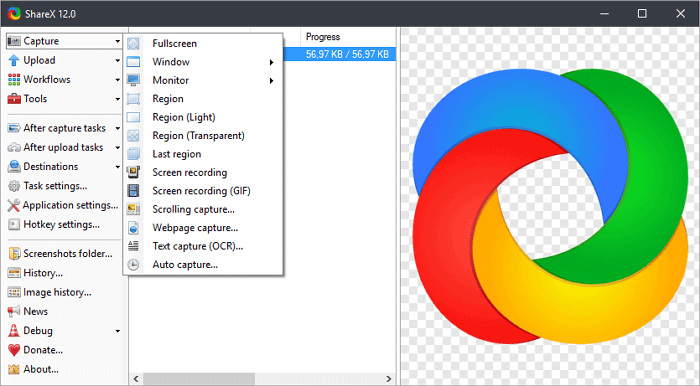
Screen Record on Acer with OBS Studio
OBS Studio is a popular open-source screen recorder you can never miss. It is capable of streaming videos and recording screen videos. Providing various features, it supports multiple platforms and imposes a little burden on the CPU, leaving your computer free.
More importantly, OBS Studio records the screen as high-quality videos along with high-quality audio. Therefore, you can get a good screen recording experience free of charge. Enough for the introduction now, let's see how to screen record on Acer with it now.
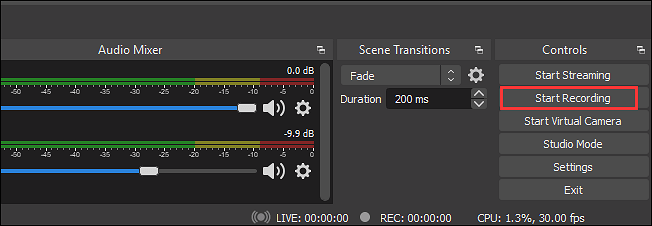
Steps to screen record on Acer using OBS Studio:
Step 1. Launch OBS Studio and click on "File" > "Settings" to adjust the options for your videos.
Step 2. Then, back to the main interface and click on the "+" icon in the "Scenes" box or right-click the box and choose "Add". Then, select "Display Capture" to record the whole screen.
Step 3. When a window appears, choose "OK" to create a new source.
Step 4. Lastly, click the "Start Recording" button on the "Controls" panel to start recording.
Screen Record on Acer Using Snagit
Snagit is one of the screen recorders free download that can record the screen on Acer for you. It supports not only recording the screen but also taking a screenshot. Editing tools are also provided. For example, you can use it to add pics and text to your screenshots. Or, you can choose to edit the screenshot's width and length. Check how you can screen record on Acer with it.

Steps to screen record on Acer using Snagit:
Step 1. Install and launch this recorder on your computer.
Step 2. Select the recording area and choose a suitable audio source.
Step 3. Click on the "Record" button to begin the recording.
Step 4. Click on the "Stop" button to save the recorded video.
Screen Record on Acer FAQs
We collected some of the frequently asked questions and their answers below. Let's see if you have the same questions.
1. How do I record my laptop screen?
To record the laptop screen, you only need to press the hotkeys on your computer preset. Windows users can press "Shift+F9" while Mac users can press "Control+Shift+Spacebar".
2. How do I record my screen on my Acer laptop Windows 7?
You need to first double-click the screen recording feature shortcut on your desktop to launch it. Then, select the element you want to record, the full screen or a specific window. After that, you can press the hotkeys to start recording.
3. How do I record my screen on my Acer laptop Windows 8?
You need to press the "Start" button on the keyboard, and then click "Accessories" > "Steps Recorder" > "Start Record" on your Acer laptop Windows 8.
Conclusion
From the tutorial above, you can see some feasible ways to screen record on Acer. We hope this can solve your problems and doubts. Among all the methods listed, we suggest you download and try screen recording on Acer with EaseUS RecExperts as it can record all the activities on your screen, in the microphone, and from the webcam. What are you waiting for? Download it right now!
EaseUS RecExperts

One-click to capture anything on screen!
No Time Limit, No watermark
Start Recording